
...a riddle for You:
What is over 15 inches long
made of paper, vellum, & Cuttlebug folders
& hopes to light up your creativity?
This thinger!

heeheehee :o)
Here's a pictorial for how to make this large lantern
out of paper and heat-embossed vellum:


Please click the photos to visit the Cuttlebug Challenge Blog

This pictorial... has a lot of steps, but despite all my rambling, ;o)
the steps are really easy & fun because...

and then light it up! :o)

The Template:
A tutorial for the original style of this lantern is here on Martha Stewart
The templates and clipart PDFs can be found here: witch, owl, moon, cat 1, or cat 2. The first of each PDF page has a Halloween image, but the last two pages have the templates (part one & two) that you'll need if you'd like to make one of these.

made of paper, vellum, & Cuttlebug folders
& hopes to light up your creativity?
This thinger!
heeheehee :o)
Here's a pictorial for how to make this large lantern
out of paper and heat-embossed vellum:
Please click the photos to visit the Cuttlebug Challenge Blog
This is a tutorial for a BIG hanging lantern with mosaic tiles of Cuttlebug embossing. You might not be able to tell from the photos but it's over 15 inches (or 38.1 cm) long! --Let's just say it is the largest thing I've ever made from paper.
The template for this lantern (created by Martha Stewart) uses a fair bit of paper (3 large sheets to construct it & 6 standard sheets to embellish it) but the scale of it is ever so impressive. (All the template links are at the bottom of this post.)
the steps are really easy & fun because...
- You don't need to make perfect cuts--the style is playful.
- No complicated embossing--just small tile-like pieces.
- and You can use all of your embossing folders on one project!
Project Summary:
1) Make one master template piece.
2) Trace the template 3 times, score & cut the 3 panels.
3) Print, cut & Emboss 3 more panels with embossing folders to decorate it.
4) Adhere the embossed pieces to the panels & embellish however you like.
5) Add sheer panels & Assemble the lantern.
6) Add a hanger (string or whatever you have to hang it with).
Materials:
--Various embossing folders
--Large paper (measuring approximately 10 inches x 16 inches or longer--or 25.4 cm x 40.6 cm.) Watercolour paper or bristol or any other "art" paper is good for this. 100lb is lovely. Art papers are great because they are acid/lignin free...but if you can't find them, you can just recycle cardboard or other packaging.
--6 sheets of standard cardstock [A4 sheets measuring 8.5 x 11 inches (or 21.6 cm x 27.9 cm)] The colour of this cardstock should be the colour you want your finished lantern to be. I used white.
--2 sheets of any old spare colour at all (to use as a template you will trace & discard).
Miscellaneous:
--Paper trimmer and/or scissors
--Adhesive (Tombow Monomulti & Oh so Sticky tape)
--Pencil, Ruler, Eraser
--1/8" Hole punch & String (to hang it)
--Paper piercer, needle, thread, & bugle beads
--Heavy weight vellum cardstock & Background stamp
--white pigment ink, embossing powder, heat gun

Step 1) Print the template, cut it & stick it together:
1 A) Print the two parts of the template on any spare cardstock.
1B) Cut the 2 templates out along the solid line (leaving the area where the page continues beyond the template intact so you can use it to overlap when you put them together in the next step).
1C) Line the 2 sheets up with each other & adhere them.
TIP: You can use a light table or a bright window if you want to line them up precisely.

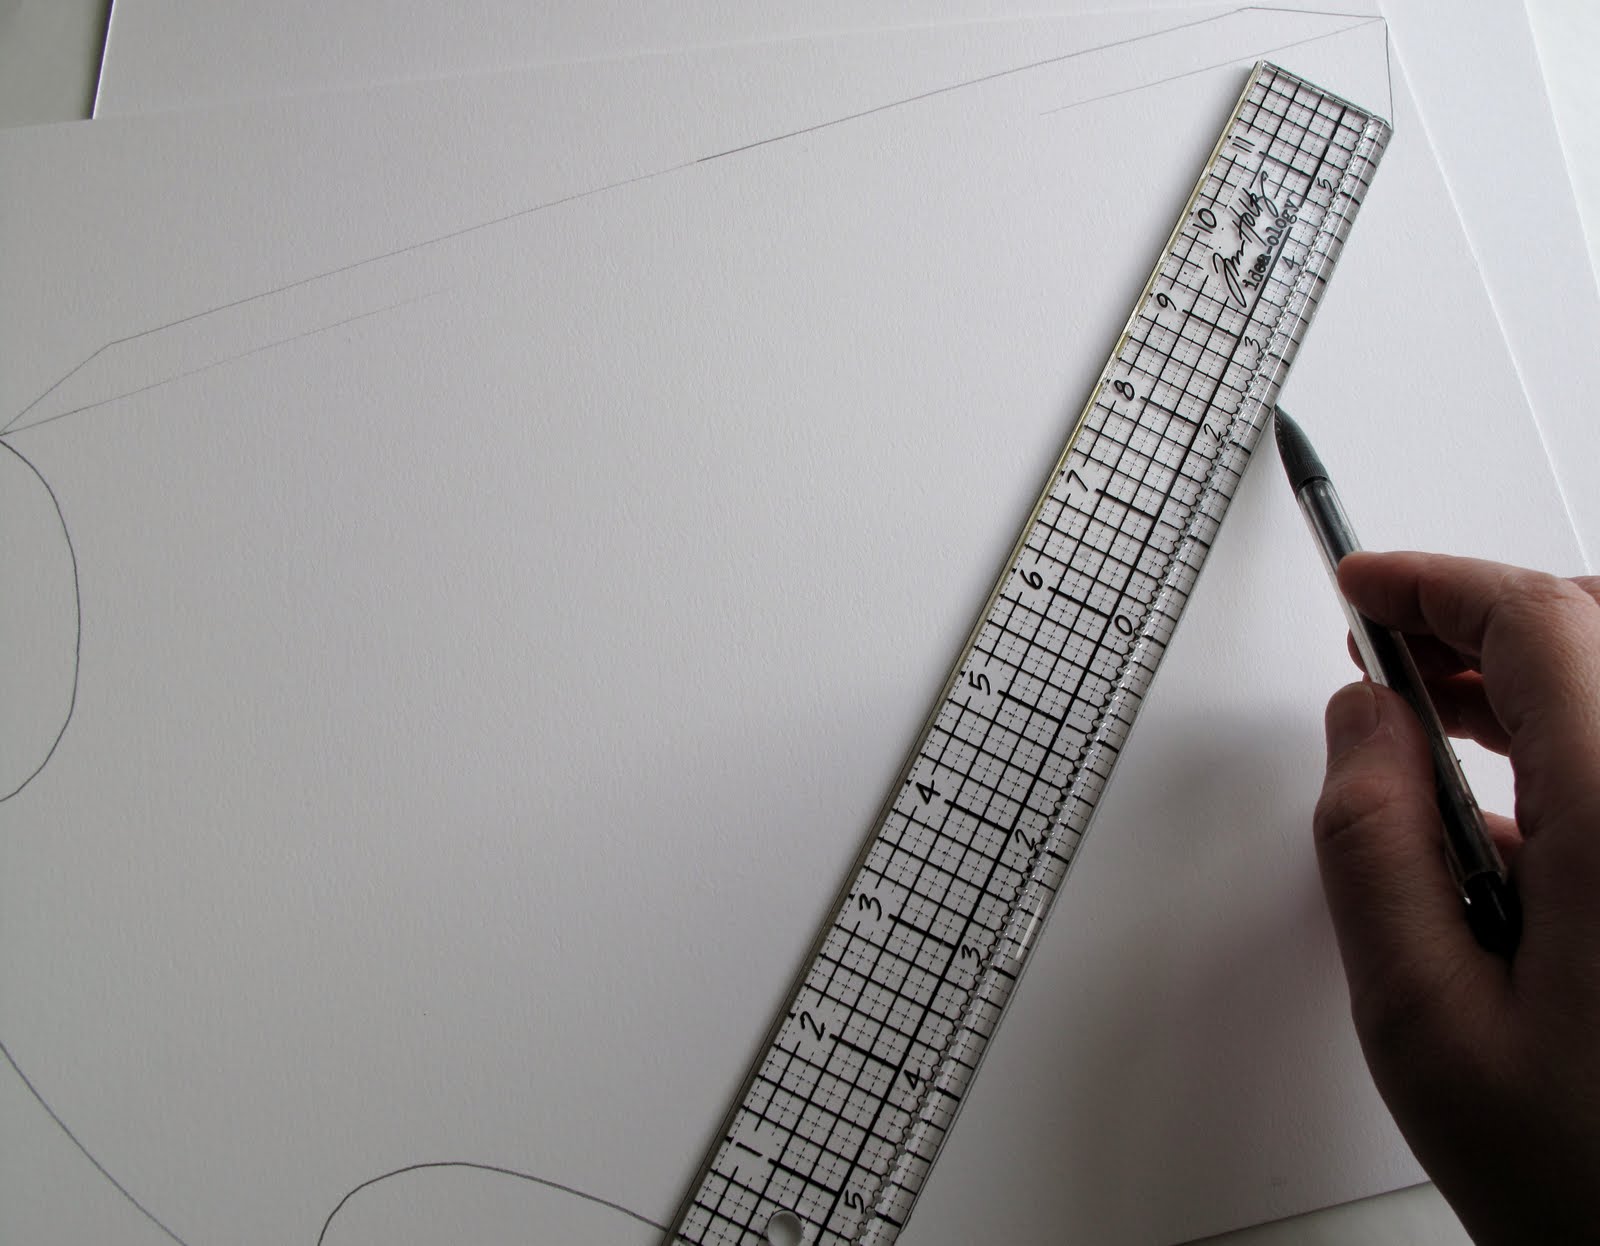
Step 2A) Trace the template onto a cardstock of your choice. Relatively heavyweight cardstock is nice for a sturdy lantern. 80-100lb is ideal.

Step 2B) You might want to use a ruler to straighten out the traced lines (in case the two template parts were not totally straight).

Step 3) Cut the 3 panels out & score (Score where the dotted line indicates to make the long tab on the side of each one).
To embellish:
Embossing the tile pieces to make a mosaic look:

Step 1) Make the Cuttlebug embossed tile pieces for a mosaic look:
1A) Print the two parts of the template 3 times...on 6 standard sheets of cardstock. The colour of this should be the colour you want your finished paper lantern to be. I chose white.
1B) Trim off exactly where the solid black line of the template ends--Using a paper trimmer (or making a straight cut however you like).
1C) Cut all the pieces out (so that there is none of the black template lines left on them.) For each template part, cut the section marked TAB off completely (or cut along the dotted line & discard that tab piece.
1D) Divide the panels into random tile-like sections for Cuttlebug embossing--Mark random lines on each template to show where to cut them up. Then, index by marking very lightly with a pencil, numbering each section, so you'll have a quick reference guide for putting them back together easily.
1E) Cut them apart. Lay them on the template and/or the other panels for easy reference.
TIPS:
Doing one panel/side at a time makes it easiest. You can label your pieces and even take a photo of them laid out for a handy reference on how to puzzle them together when you glue.
You can ink or distress the pieces before or after Cuttlebug embossing if you like

Step 2) Cuttlebug emboss the random sections/pieces.
2A) You can use all the same folder if you like; I used many different ones.

2B) Lay the embossed pieces back on the template/panels for reference (the side with the pencil marks up).

Step 3) Adhere the embossed tile pieces to the outside of each panel (Glue on the side with the pencil marks).
Create the sheer panels for the windows:

Step 1) Cut 3 triangles (of sheer material) that will fit behind the windows of each side.

Step 2) Decorate the sheer panels before adhering them into the windows: I embossed a very large stamp from Paper Garden Projects (called Cover-a-card Tapestry).

Step 3) Embellish (if you like): the front panel on this was pierced & stitching was added with bugle beads around the frame.

Step 4) Adhere the sheer panels inside the window.
The possibilities for styling your sheer panels are as limitless as your imagination:
Stamp or emboss on vellum, printable acetate etc...
Print a digital image, photograph, clip art, or anything.
Use rub-ons on a clear/sheer paper of any kind.
Embroider a heavy weight vellum or acetate panel.
Make a faux stained glass panel.
Tissue on acetate or any other semi sheer technique.
Use any of the store-bought printed acetate sheets.
Use any die-cut/cut-out sheets.
Use sheer fabric adhered to acetate or vellum for stability.
Assemble the finished panels:

Put strong double-sided tape along the tabs & attach the panels to each other.
Add a hanger:


Punch holes in the top middle of each panel & add string (or wire, or fishing line).
1) Make one master template piece.
2) Trace the template 3 times, score & cut the 3 panels.
3) Print, cut & Emboss 3 more panels with embossing folders to decorate it.
4) Adhere the embossed pieces to the panels & embellish however you like.
5) Add sheer panels & Assemble the lantern.
6) Add a hanger (string or whatever you have to hang it with).
Materials:
--Various embossing folders
--Large paper (measuring approximately 10 inches x 16 inches or longer--or 25.4 cm x 40.6 cm.) Watercolour paper or bristol or any other "art" paper is good for this. 100lb is lovely. Art papers are great because they are acid/lignin free...but if you can't find them, you can just recycle cardboard or other packaging.
--6 sheets of standard cardstock [A4 sheets measuring 8.5 x 11 inches (or 21.6 cm x 27.9 cm)] The colour of this cardstock should be the colour you want your finished lantern to be. I used white.
--2 sheets of any old spare colour at all (to use as a template you will trace & discard).
Miscellaneous:
--Paper trimmer and/or scissors
--Adhesive (Tombow Monomulti & Oh so Sticky tape)
--Pencil, Ruler, Eraser
--1/8" Hole punch & String (to hang it)
--Paper piercer, needle, thread, & bugle beads
--Heavy weight vellum cardstock & Background stamp
--white pigment ink, embossing powder, heat gun

Step 1) Print the template, cut it & stick it together:
1 A) Print the two parts of the template on any spare cardstock.
1B) Cut the 2 templates out along the solid line (leaving the area where the page continues beyond the template intact so you can use it to overlap when you put them together in the next step).
1C) Line the 2 sheets up with each other & adhere them.
TIP: You can use a light table or a bright window if you want to line them up precisely.

Step 2A) Trace the template onto a cardstock of your choice. Relatively heavyweight cardstock is nice for a sturdy lantern. 80-100lb is ideal.
Step 2B) You might want to use a ruler to straighten out the traced lines (in case the two template parts were not totally straight).

Step 3) Cut the 3 panels out & score (Score where the dotted line indicates to make the long tab on the side of each one).
To embellish:
Embossing the tile pieces to make a mosaic look:

Step 1) Make the Cuttlebug embossed tile pieces for a mosaic look:
1A) Print the two parts of the template 3 times...on 6 standard sheets of cardstock. The colour of this should be the colour you want your finished paper lantern to be. I chose white.
1B) Trim off exactly where the solid black line of the template ends--Using a paper trimmer (or making a straight cut however you like).
1C) Cut all the pieces out (so that there is none of the black template lines left on them.) For each template part, cut the section marked TAB off completely (or cut along the dotted line & discard that tab piece.
1D) Divide the panels into random tile-like sections for Cuttlebug embossing--Mark random lines on each template to show where to cut them up. Then, index by marking very lightly with a pencil, numbering each section, so you'll have a quick reference guide for putting them back together easily.
1E) Cut them apart. Lay them on the template and/or the other panels for easy reference.
TIPS:
Doing one panel/side at a time makes it easiest. You can label your pieces and even take a photo of them laid out for a handy reference on how to puzzle them together when you glue.
You can ink or distress the pieces before or after Cuttlebug embossing if you like

Step 2) Cuttlebug emboss the random sections/pieces.
2A) You can use all the same folder if you like; I used many different ones.

2B) Lay the embossed pieces back on the template/panels for reference (the side with the pencil marks up).

Step 3) Adhere the embossed tile pieces to the outside of each panel (Glue on the side with the pencil marks).
Create the sheer panels for the windows:

Step 1) Cut 3 triangles (of sheer material) that will fit behind the windows of each side.

Step 2) Decorate the sheer panels before adhering them into the windows: I embossed a very large stamp from Paper Garden Projects (called Cover-a-card Tapestry).


Step 3) Embellish (if you like): the front panel on this was pierced & stitching was added with bugle beads around the frame.

Step 4) Adhere the sheer panels inside the window.
The possibilities for styling your sheer panels are as limitless as your imagination:
Stamp or emboss on vellum, printable acetate etc...
Print a digital image, photograph, clip art, or anything.
Use rub-ons on a clear/sheer paper of any kind.
Embroider a heavy weight vellum or acetate panel.
Make a faux stained glass panel.
Tissue on acetate or any other semi sheer technique.
Use any of the store-bought printed acetate sheets.
Use any die-cut/cut-out sheets.
Use sheer fabric adhered to acetate or vellum for stability.
Assemble the finished panels:


Put strong double-sided tape along the tabs & attach the panels to each other.
Add a hanger:


Punch holes in the top middle of each panel & add string (or wire, or fishing line).


The Template:
A tutorial for the original style of this lantern is here on Martha Stewart
The templates and clipart PDFs can be found here: witch, owl, moon, cat 1, or cat 2. The first of each PDF page has a Halloween image, but the last two pages have the templates (part one & two) that you'll need if you'd like to make one of these.
Hope you have a day glowing with mojo!
This is so beautiful. so much work has gone into this x
ReplyDeleteBeautiful. I love your blog, you are so detail orentated and creative, Thank you sharing all you do.
ReplyDeleteMel your a pure Genius!!!!!This is `Gorgeous` fab tut..Yahah way to go...TFI
ReplyDeleteHave a fab evening:)xxx
Hi Mel -
ReplyDeleteI was over at the Cuttlebug Challenge blog site and saw your latern. I must tell you again, how very lovely I think it is. I really think you've outdone yourself this time sweetie.
Elaine Allen
Over the top fantastic, Mel!!! Amazing work!
ReplyDeleteLove this "Light".......You have gone above and beyond with this project. Thanks for sharing. I always love seeing what you do.
ReplyDeletedj_enns@yahoo.com
This is so cool! And thanks for the tutorial!
ReplyDeleteYour creations always are amazing! Love it!
ReplyDeleteWow, how beautiful. I love it.
ReplyDeleteStunning! So darn creative it kills me girl. If I had an ounce of your creativity, I'd be in heaven! They are lucky to have you on their DT.
ReplyDeleteI'm enjoying seeing all the light projects. What a unique way to use scrapbooking products.
ReplyDeleteVery cute project
ReplyDeleteWow, i love this one. Love your blog!
ReplyDeleteThis is sssooo cool! What a fantastic blog you have!
ReplyDeletevery pretty! a lot of work but it looks worth it for the beautiful product in the end. thanks for sharing.
ReplyDeletesweet! I could never do this due to the whole measuring thing & detailed work but it is gorgeous to look at!
ReplyDeleteI JUST LOVE ALL THESE PROJECTS
ReplyDeleteAll I can say is WOW!!!
ReplyDeleteThank you for sharing your lantern. It is beautiful. smg
ReplyDeletesmgunderscoregdpathotmaildotcom
Very elegant project. Thanks for telling what the size is too. That really put it in perspective for me.
ReplyDeleteI also left a comment on the main blog when I saw your design. Great tip on the embossing mosaic!
ReplyDeleteYour projects are always amazing!
ReplyDeleteAnother beautiful project!
ReplyDeleteStunning!! I'm going to have to attempt this one!
ReplyDeleteYour design is absolutely beautiful Mel!!! TFS
ReplyDeleteTerry
WOW!!! This is so incredible! Love the shape!
ReplyDeleteFantastic job. I think I asked on the other link what kind of light you used, but from seeing other's work and seeing that they used battery operated tea lights, I'm figuring that's what you used also. (I was kinda wondering how you would use real tea lights!) LOL.
ReplyDeleteTFS,
dj1952
Wow... I love this lantern!! Soooo pretty! Your attention to detail is fabulous! TFS!
ReplyDeleteLizzie from Texas
lizlillis44@yahoo.com
Love it! Your blog is awesome also!
ReplyDeleteMel, this is awesome! You have so many great techniques on your blog! I wish I had time to do all of them!
ReplyDeleteYour directions on how to make this are great!
ReplyDeleteI could see these throughout my house for the holiday season. Maybe take it into another season, summer. Then place them outside for a party. Another stunning project!
ReplyDeleteThat is so cool!! I love the shape!! Just joined your blog and will be back alot!
ReplyDeletereneeporter7@yahoo.com
Gorgeous! Is there anything else to say? Hop Hop Hop
ReplyDeleteThis is soooo pretty. Just love it. I think I have some of that same vellum in my stash. I'll have to dig it out.
ReplyDeleteVery beautiful lantern! You have done a great job!
ReplyDeleteAwesome lantern! Fantastic idea, I would have never thought of this!
ReplyDeletescrapaliciousleo@gmail.com
Love peachy keen stamps don't have any though love the chance to win some!
I love this one it is sooooo beautiful.
ReplyDeleteBeautiful! I love everything on your blog so much that now I'm a follower. Thanks for the inspiration.
ReplyDeleteOh very cool shape! Thanks so much!
ReplyDeleteThis is great! What a large piece! Blog hopping takes a while to do as I have to look at all the other stuff on the blog & follow some links. I love it.
ReplyDeleteJust beautiful and very impressive
ReplyDeleteThat "thinger" is awesome and I am off to read your tutorial This is my new hobby: reading Mel's tutorials like some sort of fiction. I never get the time to make anything, but at least I do the reading, right?
ReplyDeleteHi,
ReplyDeleteit is soooo beautiful....thank you for the tutorial and the chance to win...;)
ILONA
So creative! Love teh "light cover" thinger :)
ReplyDeleteLove the lantern.
ReplyDeleteKathy
kals@zoominternet.net
love the shape of this
ReplyDeleteYou never cease to amaze me with your projects. You must spend hours thinking and working on these. Always so fun!
ReplyDeleteI just love this....you can really see all the wonderful details and time you put into it and it is FANTASTIC! Thank you so much for sharing all your talent and inspiration with all of us!
ReplyDeleteHugs!
Cassandra
cvansyckle@gmail.com
beautiful! I love the detail you provide in your blog! positively amazing!
ReplyDeleteyour creativity wows me!
ReplyDeletelove it love it!
I love your blog! It is bursting with creativity!! Thank you so much for sharing your talent with the world!
ReplyDeleteThis is so gorgeous, you really outdid yourself.
ReplyDeletehugs,
Gini
Your lantern is just beautiful! Thanks for sharing!! :)
ReplyDeleteWhat a wonderful lantern. You must have spent forever creating it. The details are amazing. Thanks so much for sharing.
ReplyDeleteWow! Your lantern is beautiful!
ReplyDeleteI love the lantern, the middle-eastern feel is great.
ReplyDeletesbalow98@yahoo.com
Oh my goodness, I love your blog! so much to see, I'll be back
ReplyDeleteCarol<><
Your light is fabulous,Joy said her favorite technique was Mels stamp diarama, now I know why, you are so very talented. Thanks for sharing and inspiring!
ReplyDeleteI really love this idea as soon as I saw it I wanted to make it, I think this would make a really lovely feature in an entrance or hallway. It is beautiful.
ReplyDeleteKim xXx
Wow! Great project!
ReplyDelete