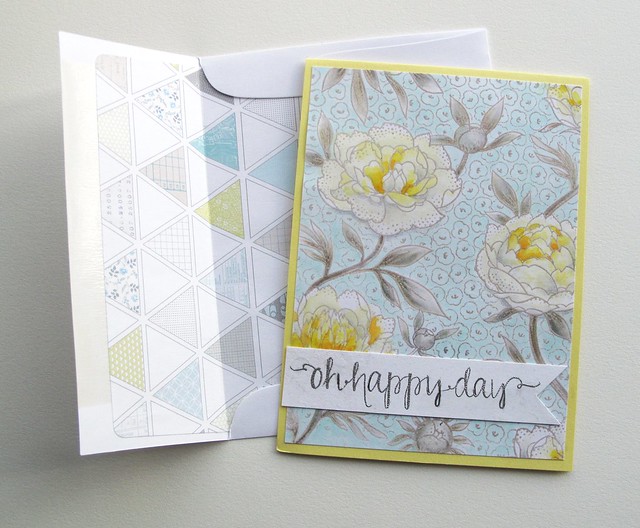
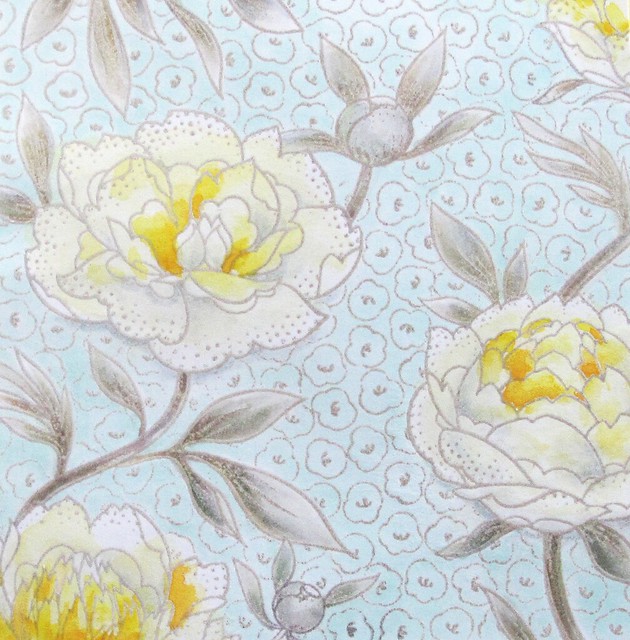
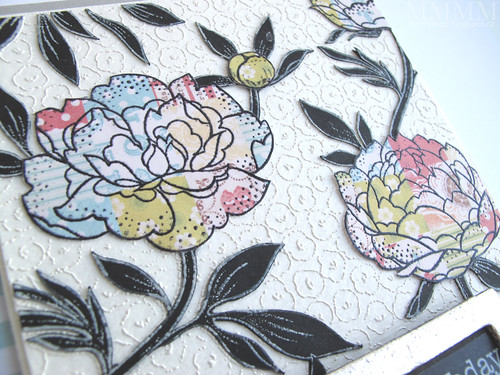
You know those stamps, the ones you just keep coming back to and never seem to tire of? This floral falls into that category for me. It's Hero Arts' Large Flower Background cling stamp, and I just can't stop heat-embossing those blooms.
Though I did want a new pale colour to stamp them in (without having to shop for one) so I tried something weird with the ink this time. Let's hear it for instant gratification!!

How to make Custom Tinted Versamark (or pigment ink
colours) for heat-embossed stamping - using reinkers:
Like many of you, I don't buy new supplies very often, but I want it all and I want it now! To get a unique shade of ink (to heat emboss with) you can mix one up from ink refills & apply it using a brayer.

- Clear Versamark Ink refill
- Coloured pigment ink reinkers (in hues of your choice)
- Rubber brayer tool
- Palette knife/old credit card
- Sheet of acetate, old packaging, or flat palette
- Stamp of your choice
- Watercolour paper & paints
To get a custom tinted ink colour, I did the following:
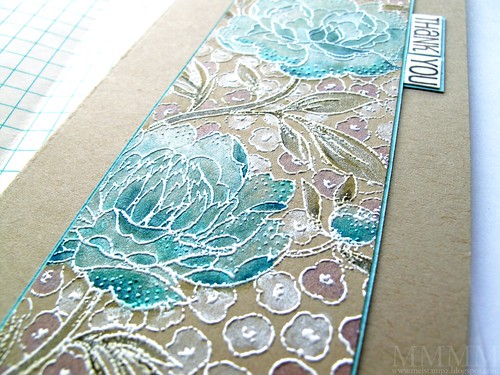
Step 1) Mix inks, from refill bottles, onto a piece of acetate or a plate or something else to serve as a palette (I used clear Versamark Ink from a refill bottle with pigment ink reinkers to get a custom taupe colour.)
Step 2) Mix the various inks together with a palette knife or old credit card or the like.
Step 3) Load a rubber brayer with your new custom ink.
Step 4) Brayer the ink onto your stamp.
Step 5) Stamp and heat emboss it with clear embossing powder.
Step 6) Paint the image using watercolour paints.
BONUS: One major advantage to this is that you don't need an ink pad to dedicate to each new shade. You simply mix on a flat surface, and you can mix up just one colour at a time.
TIPS: Keep adding colours until you get a shade you like.You could even add white pigment ink reinker to lighten the hue.
If you like you can keep track of how many drops you use of each colour, or you can just wing it like I did this time.

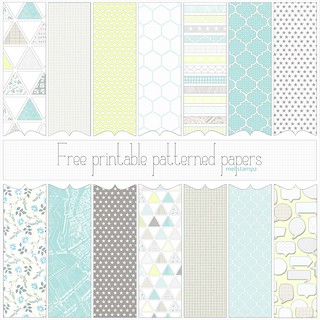
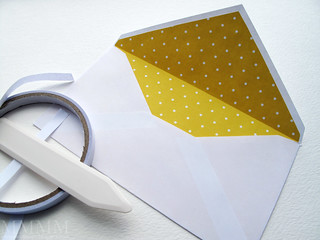
The triangle paper that I used to line the envelope
is available here, as part of a free set if you like it:
And there's a tutorial for an ultra quick way to line any size of envelope, here:

Here are some cards from previous blog posts using the same hero arts blooms:
Hope your day is bloomin' wonderful,
P.S. The sentiment stamp is from Avery Elles' "Oh Happy Day" set.





absolutely gorgeous! I love that stamp but the custom ink tips are worth their weight in gold! Thank you!
ReplyDeleteawesome card ! thank you for sharing and all ink tips !
ReplyDeleteYour cards are all so beautiful. The soft yellow is awesome. I really am in love with the bottom card. Thanks for sharing your tips.
ReplyDeleteClever you, great tip! Beautiful samples!!! hugz
ReplyDeleteLove it! I just got this stamp, and now I plan to USE it. :)
ReplyDeleteHi Mel! All your cards are wonderful! And thanks for all the tips and the free printable papers ♥
ReplyDeleteLovely card! Thanks for sharing your DIY ink color technique and for the inspiration!!
ReplyDeleteMel, you are just brilliant! Thanks for a great post here with a wonderful idea to get that "perfect" color. Thanks so much for your generosity. I look forward to each of your posts.
ReplyDeleteTotally fabulous! goodness me, its good to have you back again in Blogland, Jo x
ReplyDeleteUnas bellas postales!!!
ReplyDeleteSolo me resta felicitarte por tan fabulosos trabajos.
Besos
Wow! This is is a joy for eyes!! And also the others are stunning! Thanks for this new trick, it's so useful! I must try, it's simple and very creative!
ReplyDeleteThanks for the tips. I learn so much from you. Your cards are so beautiful.
ReplyDelete