


You won't believe how many ways there are to use die cuts! Given the proliferation of die ideas out there I thought it was high time that I put a little work into curating another round-up post to share with you. I learned a trick or two...

The majority of these techniques would also work beautifully with machines: Silhouette, Cricut, or Brother scan & cut - whatever you've got goin' on. Most are material based, using ink, paint, glitter and so on for their oomph factor. :)
Many of these ideas have video tutorials included while some are simply photos of gorgeous ideas. Hope you are as inspired as I was by all these clever people!
Just click on the links or the images to go see the associated project...
Basic Die cutting Tips:


All sorts of Die cutting Ideas:


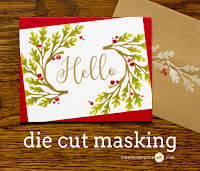
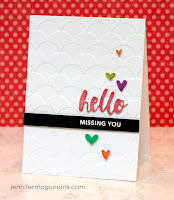
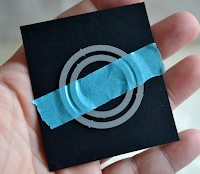
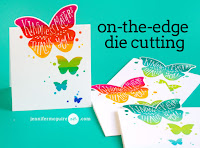
10) Die cut masking - video
-Jennifer McGuire:
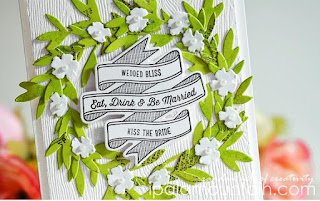
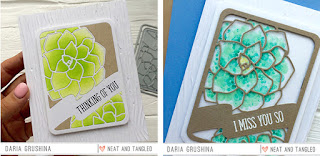
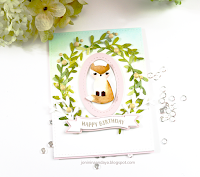
11) Die cut wreath Window card
- Daria Grushina:

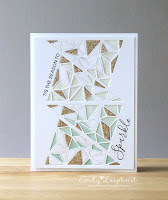
12) Die cut & stitched vellum
- Joy:

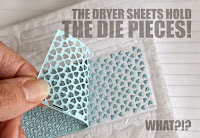
13) Freezer paper masking with die cuts video


- Iowna Palamountain:
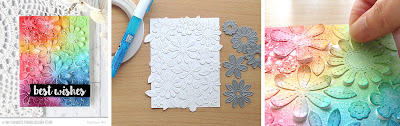
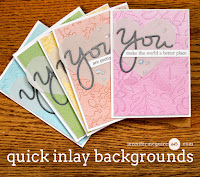
30) Easy Inlay die cut backgrounds - video
- Jennifer McGuire:
31) Die cuts over glitter
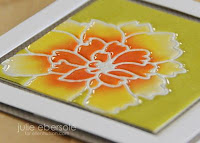
- Yoonsun Hur:

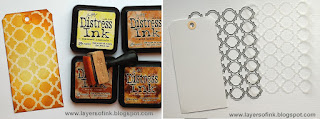
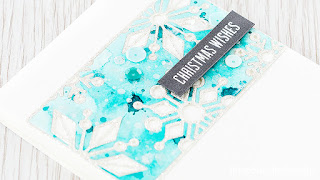
32) Die cut Distress Ink background
30) Easy Inlay die cut backgrounds - video
- Jennifer McGuire:
31) Die cuts over glitter
- Yoonsun Hur:
32) Die cut Distress Ink background

33) Double dies to create frames
- Teri:
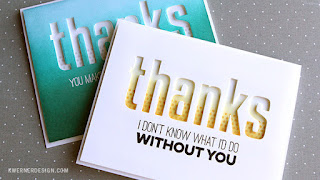
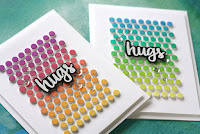
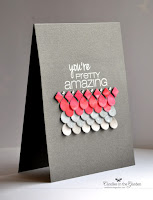
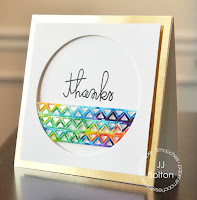
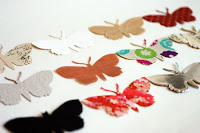
34) Ombre die cuts
- Heather Ruwe:

35) Drop shadow die cut technique
- Betsy Veldman:

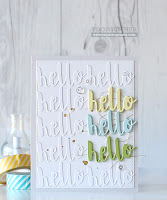
36) Repeated die cuts & white on white die background
- Yoonsun Hur:
- Teri:
34) Ombre die cuts
- Heather Ruwe:
35) Drop shadow die cut technique
- Betsy Veldman:
36) Repeated die cuts & white on white die background
- Yoonsun Hur:

38) Die cut over stamping
- Yoonsun Hur:

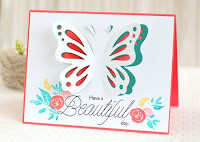
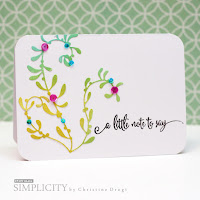
39) Outline dies with watercolour fancy cut backing
- Joni Andaya:

40) DIY embossing plate video (die cut cardstock)


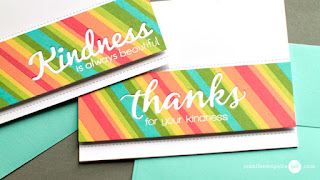
45) Stripe inlay technique die cutting - video
Jennifer McGuire:
46) Die cut with a map as backing -video
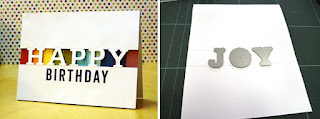
- Joanna Harty:

47) Alphabet die cards with stamped backgrounds


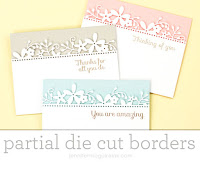
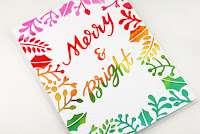
70) Ink paper first (multiple shades) then die cut
- Mayline Jung:

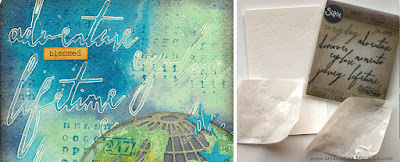
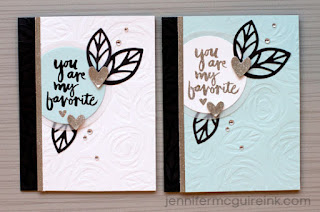
71) Embossed die impressions (inked dies) - videos
- Jennifer McGuire:

- Mayline Jung:
71) Embossed die impressions (inked dies) - videos
- Jennifer McGuire:

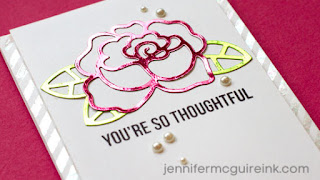
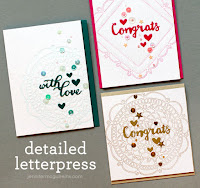
73) Faux-letterpress with dies - video
-Jennifer McGuire:
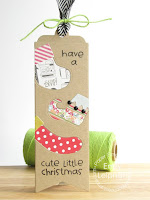
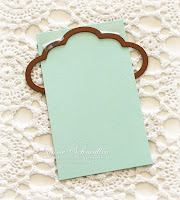
74) Die cut frame (uses one die but it'd work with many dies)
- Jeanne Jachna:
75) Die cutting fabric
- Laura:
76) Die cut frames to modernize character stamps


79) Die cut shaker card - video
Amy Rysavy:

80) Negative die cutting 3 ways
Yana Smakula:

81) Dry Embossing with dies - video
- Jennifer McGuire:
82) Die cutting different materials


96) White on white single die cut shape repeated
97) Layered die cuts


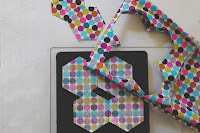
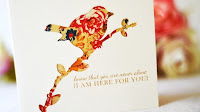
103) Die cut over bold patterned paper
- Iowna Palamountain:
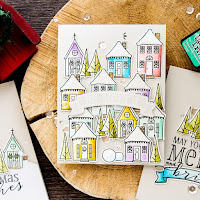
104) Scenic cut out card - video
- Ingrid Blackburn:

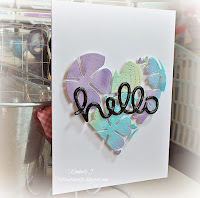
105) Die cut over bold stamping
- Amy Tsuruta:

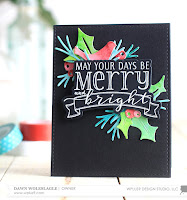
106) Die cut over pressure embossed background
- Susan Joyce:

107) Faux layered die cuts

108) Inlay techniques

Hope you guys enjoyed this eye candy. I'll add more die cutting technique tutorials etcetera as I come across them.
With Love,

P.S. Have a die cutting fave to share with us? Please link it up in the comments! ♥


