


it's for a really easy foil leafing technique that I'm calling Gilded Paper. :)

Have you ever gilded anything with silver or gold leaf?
I've done a few things for around the house, like a recipe box & a knife block. But when it comes to card making I was reluctant to use that liquid sizing adhesive that comes with leafing kits. I didn't want the paper to warp. So... to get some shimmer without any goopiness I thought 'why not use some sticker paper instead?'

Turns out that the Silhouette printable sticker paper is perfect for silver leafing with much less mess, and it leaves you with a nice papery backing on your silver piece that is really easy to adhere to your cards & other projects. They also have a clear sticker paper; I've never tried it but it sounds interesting (Of course, you could use any sticker paper, label paper, or any sticker at all, instead.)


For this box, I made a gold foil tag with an Impression Obsession snowflake die (cut out of thin white paper and stuck onto the sticky tag before adding foil) just to make it that much easier.
I added some snowflake flowers (so easy!) just punch a snowflake shape (these are Martha Stewart snowflake punches.) Then, pierce a hole in the center & then add a floral wire & something to embellish the center (I used a rolled up metallic pipecleaner bit glued on). Then add some leaves.
Edited to add: oops wrong graph paper! Here's the one the lid was actually wrapped in.
That's what I get for having too many graph papers on flickr. lol
The lid is wrapped in this free printable Graph paper:

(It's also here on flickr)
I left this one anyhow...
it's lighter with more bold white grid superimposed on it:
(It's also here on flickr)
I left this one anyhow...
it's lighter with more bold white grid superimposed on it:
(The letter size is also here on Flickr
& 12.5" square here as well.)


This box got a super simple embossed tag using this Cuttlebug Provocraft Snowflakes folder
And a metallic pipe cleaner snowflake embellishment that was easy to shape by twisting & bending the pipe cleaners into shape. Then I layered on a punched vellum snowflake & mother of pearl button.

(The letter size is also here on Flickr)


The box top is wrapped in this free printable Snow Crystals paper:

For this box, I added a die cut tag that says 'Ho Ho Ho' It was cut on the Silhouette Cameo.
And the clear beaded snowflake embellishment is one that I made by cutting a circle from clear plastic packaging, piercing hole with a paper piercer (using a pencil sketch as a guide) then stitching on white seed beads using white thread and a fine needle.
The box top is wrapped in this free printable Snow Crystals paper:
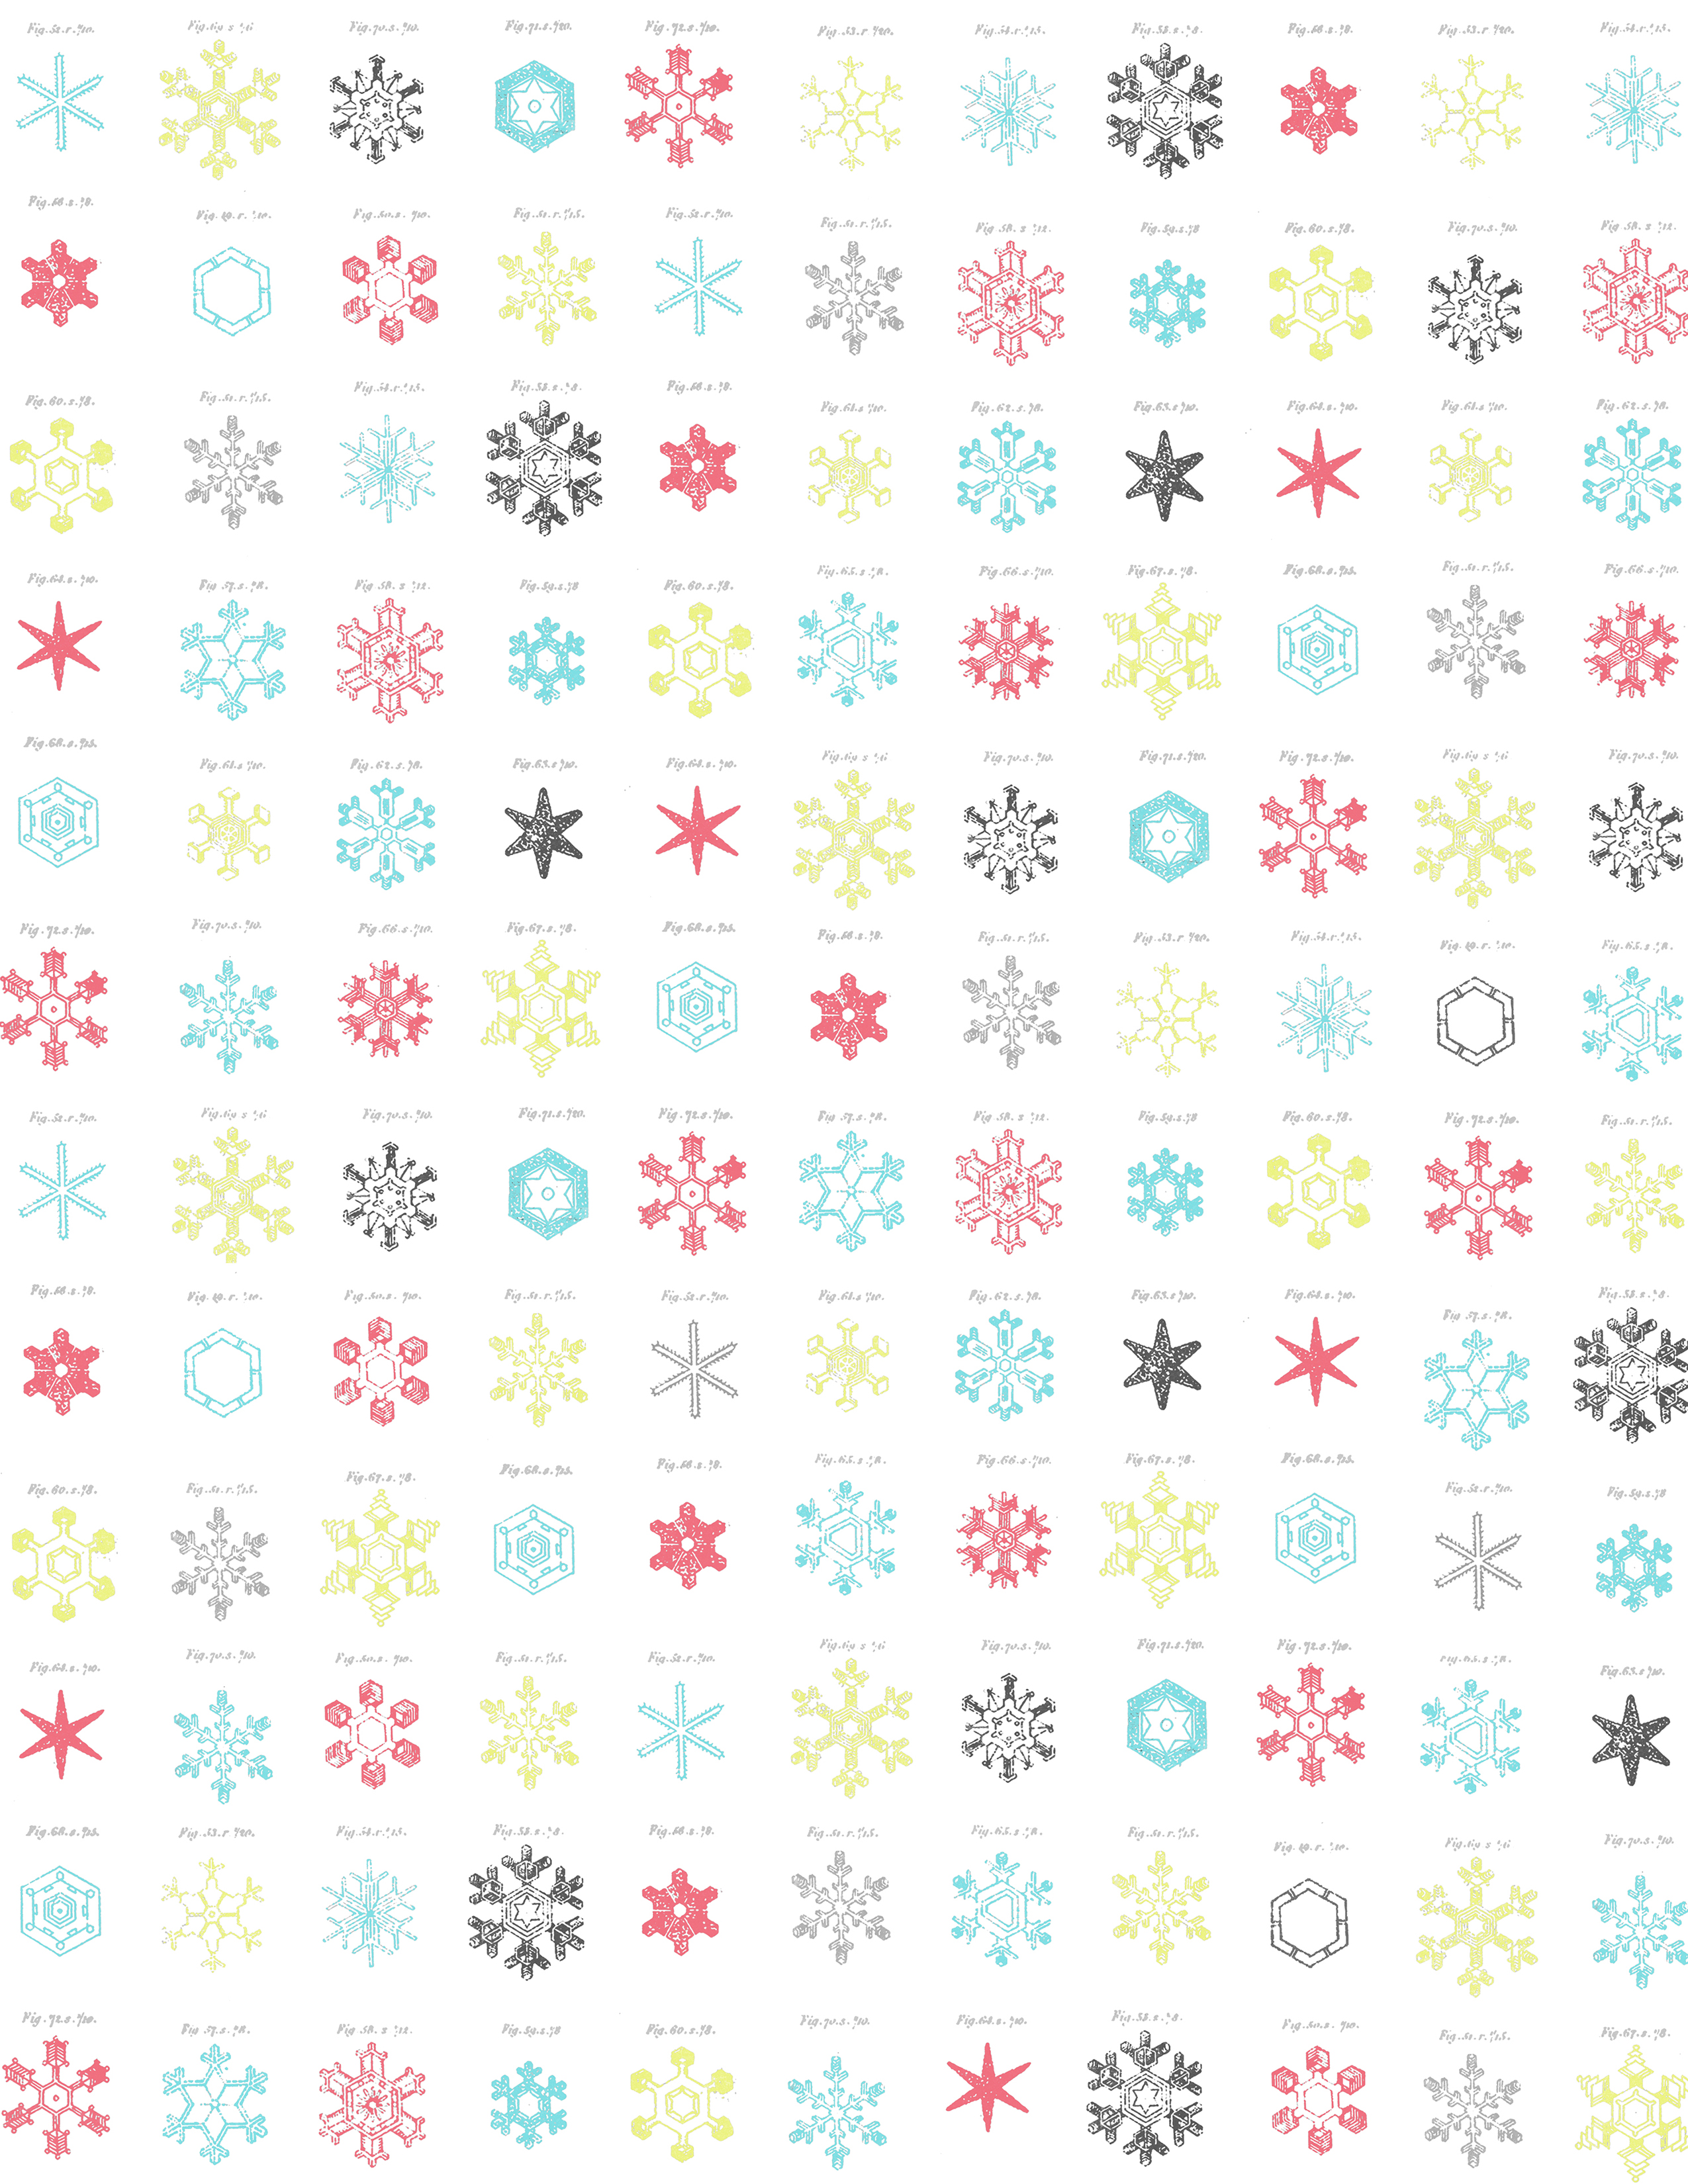
(The letter size is also here on Flickr
& 12.5" square here as well.)

PC users in Explorer: Click on the paper you want & it will open a new window,
then right click on the image & choose "save target as"
.
You can also find the full set of Christmas papers, here
(there are three sets that I shared last year)...


This digital work is offered up for free, but mainly for personal use or handmade sale items only.

& 12.5" square here as well.)
How to save these single papers directly from my blog:
PC users in Firefox/Chrome: Click on the paper you want & it will open a new window,
then right click on the image & choose "save link as"
then right click on the image & choose "save link as"
PC users in Explorer: Click on the paper you want & it will open a new window,
then right click on the image & choose "save target as"
.
Mac users: Please visit the flickr links for each paper, then right click select 'all sizes'
& click on "download the original size of this photo"
& click on "download the original size of this photo"
You can also find the full set of Christmas papers, here
(there are three sets that I shared last year)...
This digital work is offered up for free, but mainly for personal use or handmade sale items only.
Please do not use these to make digital papers or kits for sale, nor mass produced items.
If you have any questions, please be sure to read my terms of use here. Thanks!
If you have any questions, please be sure to read my terms of use here. Thanks!


.JPG)


