Showing posts with label BASICS. Show all posts

Saturday, December 7, 2013

Gilded Paper tutorial on Splitcoaststampers :)


Gilded Paper Tags

it's for a really easy foil leafing technique that I'm calling Gilded Paper. :)

Gilded Paper - tutorial at Splitcoaststampers

Have you ever gilded anything with silver or gold leaf? 

I've done a few things for around the house, like a recipe box & a knife block. But when it comes to card making I was reluctant to use that liquid sizing adhesive that comes with leafing kits. I didn't want the paper to warp. So... to get some shimmer without any goopiness I thought 'why not use some sticker paper instead?'

http://www.simonsaysstamp.com/servlet/the-48022/MEDIA-dsh-wht-dsh-adh-printable-white-sticker/Detail


Turns out that the Silhouette printable sticker paper is perfect for silver leafing with much less mess, and it leaves you with a nice papery backing on your silver piece that is really easy to adhere to your cards & other projects. They also have a clear sticker paper; I've never tried it but it sounds interesting (Of course, you could use any sticker paper, label paper, or any sticker at all, instead.)


gold Gilded snow flake die-cut resist tag copy

For this box, I made a gold foil tag with an Impression Obsession snowflake die (cut out of thin white paper and stuck onto the sticky tag before adding foil) just to make it that much easier.

I added some snowflake flowers (so easy!) just punch a snowflake shape (these are Martha Stewart snowflake punches.) Then, pierce a hole in the center & then add a floral wire & something to embellish the center (I used a rolled up metallic pipecleaner bit glued on). Then add some leaves.

Edited to add: oops wrong graph paper! Here's the one the lid was actually wrapped in.
That's what I get for having too many graph papers on flickr. lol


22-cool_grey_NEUTRAL_small_scale_GRAPH_solid_letter_size_300dpi

(The letter size is also here on Flickr
 & 12.5" square here as well.)


embossed silver gilded paper tag


This box got a super simple embossed tag using this Cuttlebug Provocraft Snowflakes folder 

And a metallic pipe cleaner snowflake embellishment that was easy to shape by twisting & bending the pipe cleaners into shape. Then I layered on a punched vellum snowflake & mother of pearl button.


tiny_antique_graph_paper_letter_size_300dpi

(The letter size is also here on Flickr)


ho ho ho tag - free silhouette cut file

For this box, I added a die cut tag that says 'Ho Ho Ho' It was cut on the Silhouette Cameo. 

And the clear beaded snowflake embellishment is one that I made by cutting a circle from clear plastic packaging, piercing hole with a paper piercer (using a pencil sketch as a guide) then stitching on white seed beads using white thread and a fine needle.

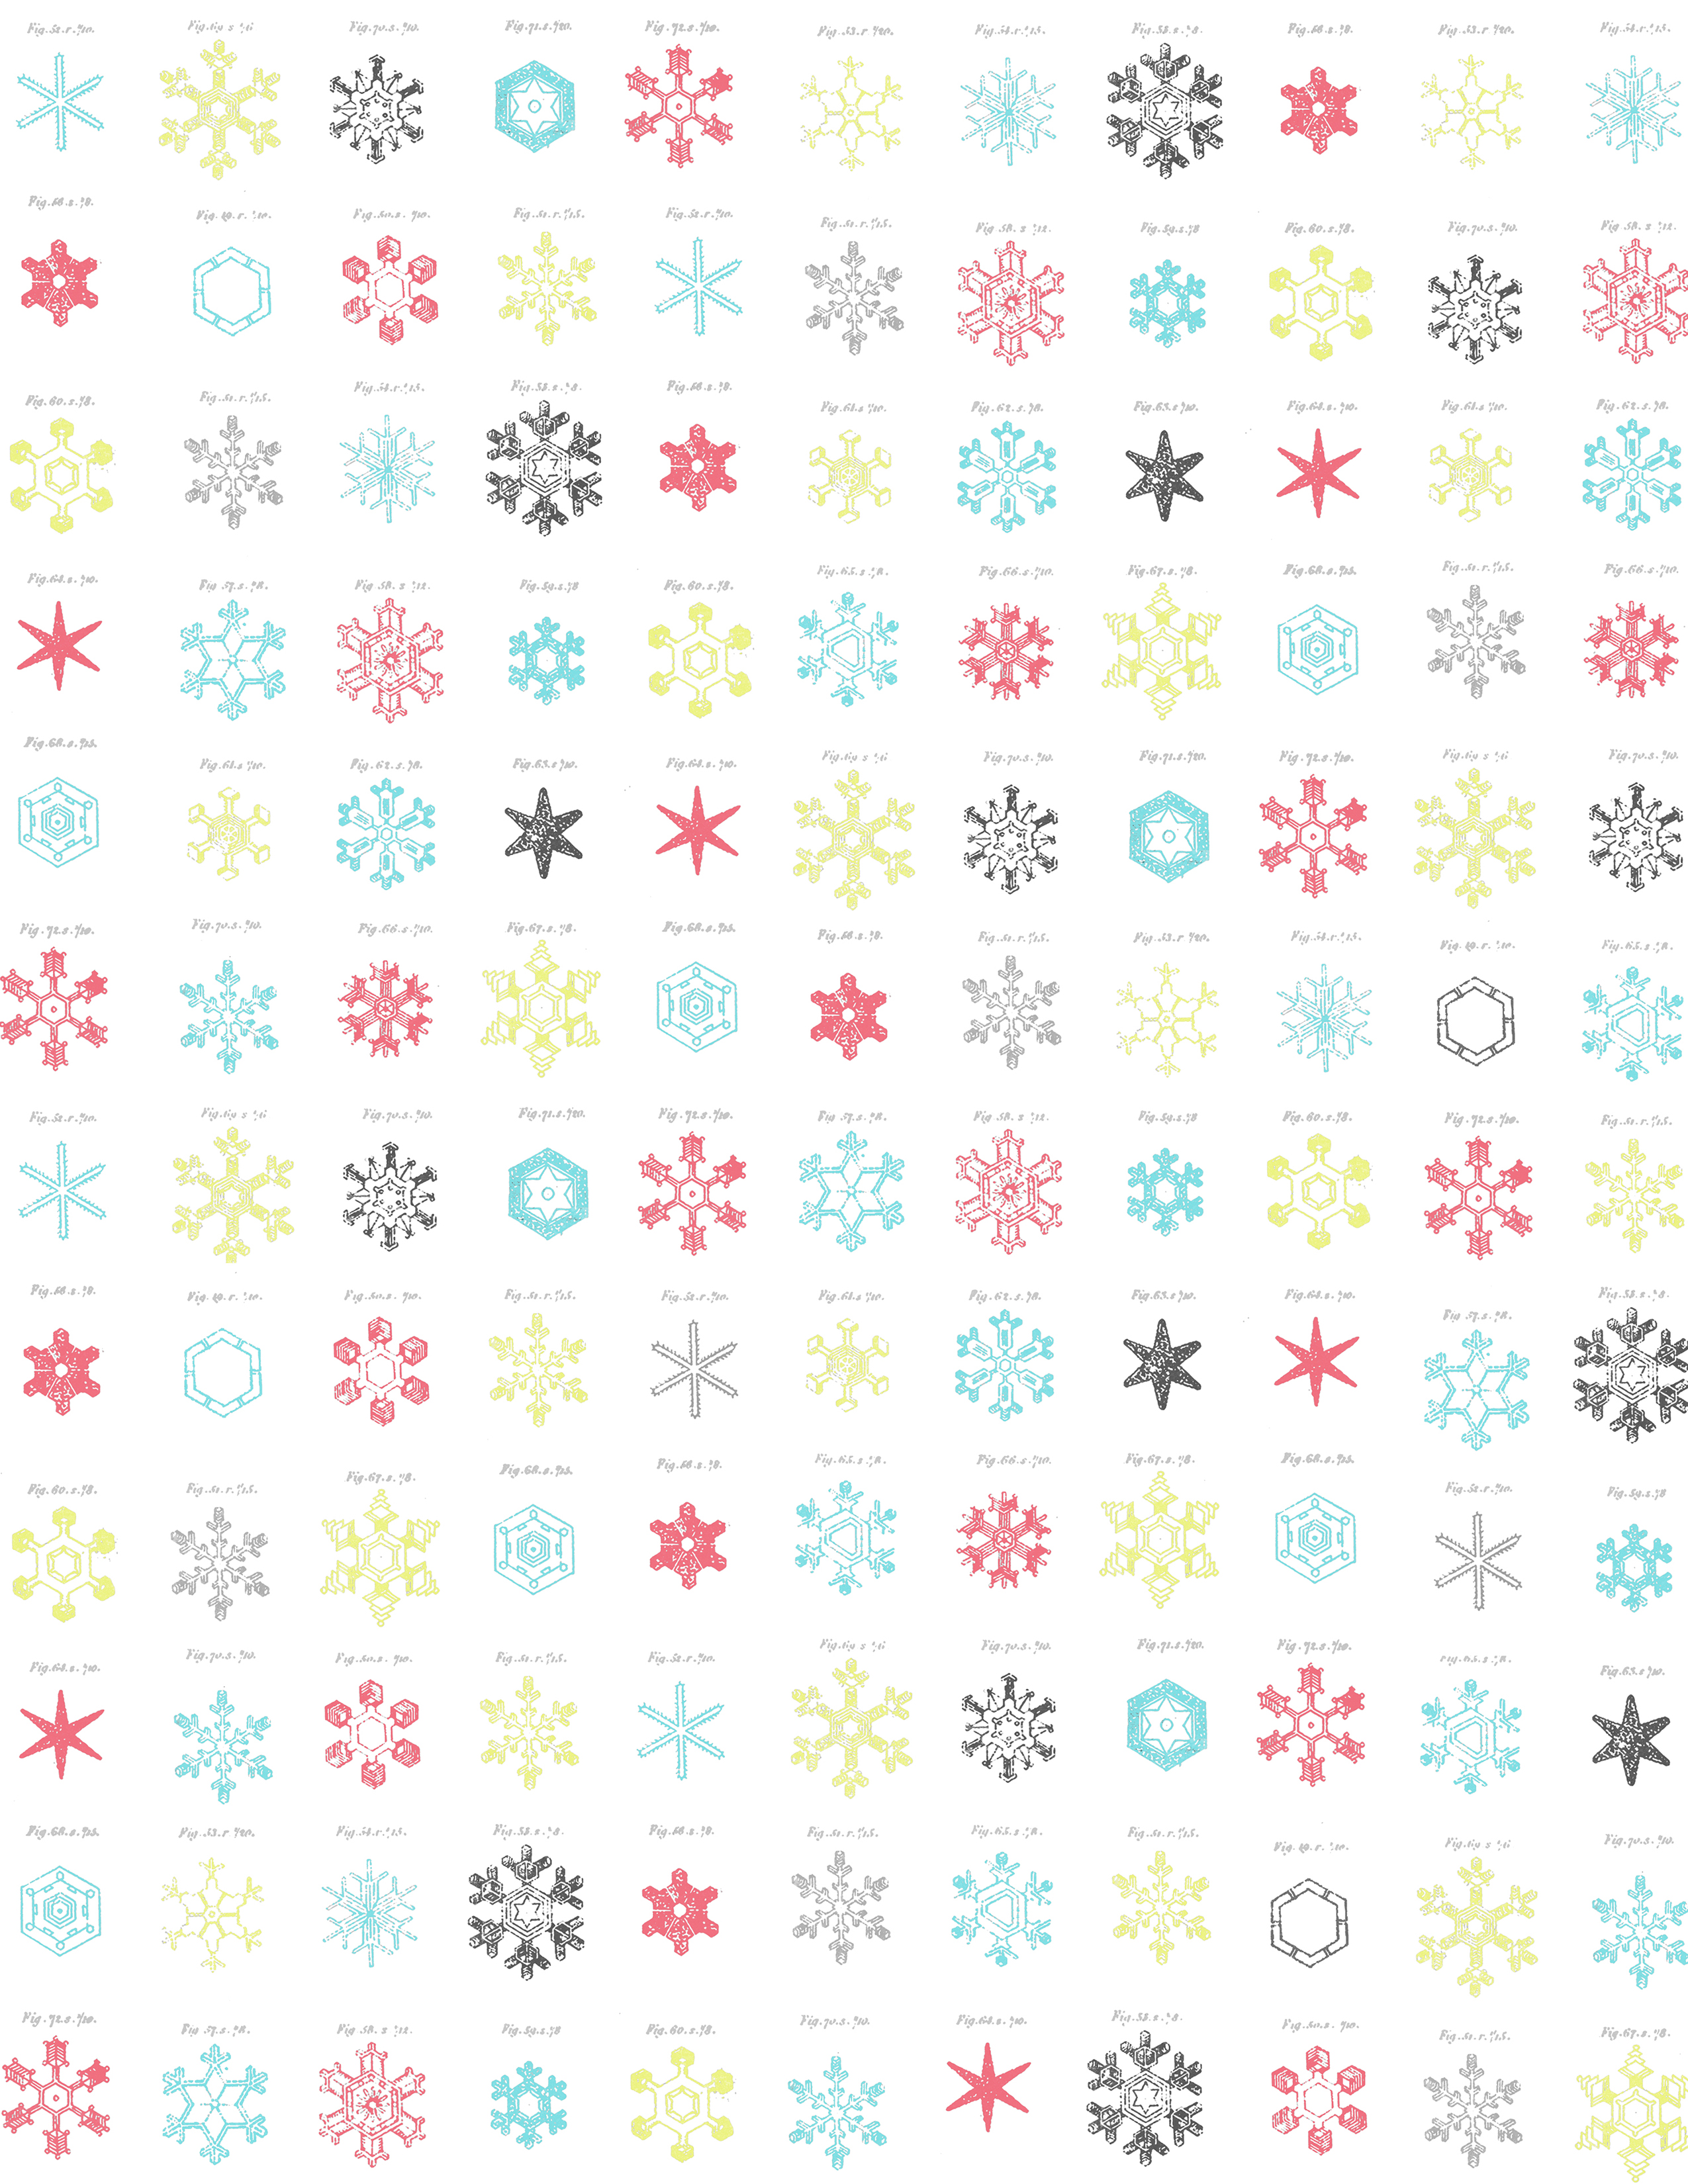
The box top is wrapped in this free printable Snow Crystals paper:

snowflake_snow_crystals_LARGE_SCALE_letter_size_paper_300dpi

(The letter size is also here on Flickr
 & 12.5" square here as well.)


How to save these single papers directly from my blog:

PC users in Firefox/Chrome: Click on the paper you want & it will open a new window, 
then right click on the image & choose "save link as" 

PC users in Explorer: Click on the paper you want & it will open a new window, 
then right click on the image & choose "save target as"
 .
Mac users: Please visit the flickr links for each paper, then right click select 'all sizes'
& click on "download the original size of this photo"
 

You can also find the full set of Christmas papers, here
(there are three sets that I shared last year)...
  free printable Christmas paper set #2 preview


This digital work is offered up for free, but mainly for personal use or handmade sale items only.


Here's to shimmery happy craftiness! ox

Tuesday, June 12, 2012

3 New free Paper Sets (subtle stripe, tiny graph, & outline dots)


A simple little card...

SRM Sticker {happy day} card

...made using 2 of the patterned papers that were in Monday's post.

I used the grey outline dot paper (and coloured some of the dots with these copic markers: R-35, RV-29, RV-13, R-00, W-3, Y-02, YG-00. Next time I might use pencil crayons instead, since it was tricky to stay in the lines.


The {happy day!} sentiment is

I stuck the white & clear sticker on black cardstock and
framed it with itty-bitty flowers from a Fiskar's scallop flower punch:

.


Here's the inside of the card (A2 size)
& the envelope:

SRM sticker {happy day} card inside

(The striped paper is the blue raspberry in the random subtle stripe below & the coloured pattern strips are just cut off the cover of this Crate Paper Paper Heart 6x6 pack).


Tuesday, May 15, 2012

How to Download papers & overlays from Flickr (updated APR 2015)

Some of you lovely people have asked how to download files from Flickr (where, incidentally many of my as-yet-unblogged paper sets are hiding themselves away as they await their own blog posts). So, I thought I'd share a tutorial showing the details of how to download from Flickr.

The following pictorial is sure to work for PC users,
but hopefully Mac users can download this way too.

9-blue_raspberry_BRIGHT_world_MAP_and_a_half_inch_SQ_350dpi_melstampz7-lime_BRIGHT_PENCIL_DAMASK_SOLID_melstampz_12_and_a_half_inches_SQ_350dpi9-blue_raspberry_BRIGHT_Sweetly_Scrapped_bus_ticket_12_and_a_half_inches_SQ_350dpi_melstampz

Brightly coloured paper printables mel stampz

-1-


You can find my Flickr gallery here.
(It's a mix of all my blog photos, like the ones used in this tutorial,
as well as card photos, free papers and overlays, templates, etc).


-2-


How to download my free
papers & overlays from Flickr:


Step 1) Go to Flickr. You can see all of my sets in one spot here:
 
https://www.flickr.com/photos/37570710@N02/sets/


Step 2) Click on the image of the set that you'd like to look at,
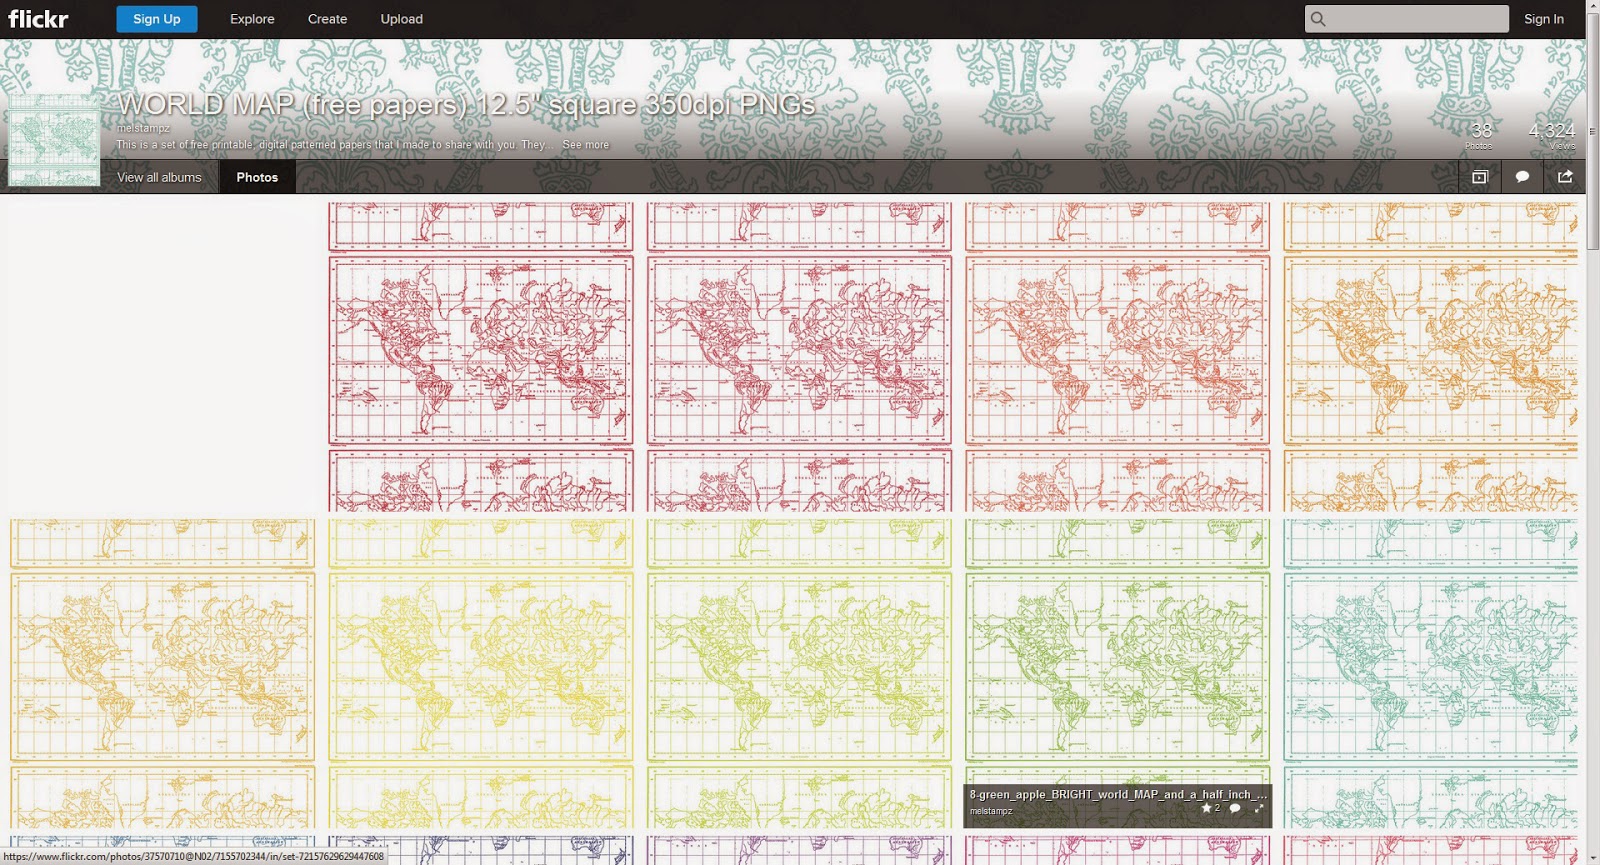
it will open up a page that looks something like this:

https://www.flickr.com/photos/37570710@N02/sets/72157629629447608/


Step 3) Click on the thumbnail of the colour you want (or the overlay) and it will
take you to the page for that particular image. You can then do one of two things:

1) Add it to your flickr favorites (if you have a Flickr account.The basic account is free). This option is nice, since there is no need to take up space on your computer by downloading.

or 2) you can save the file to your computer, if you like, this way:


 Step 4) To easily save a file on Flickr, click on the arrow symbol at the bottom right-hand side
and select 'original' for the best quality (or choose whichever size you prefer):


Step 5) Once you click 'original', simply select 'save file' and then hit 'okay'.


And that's it!
(It takes about 30 seconds) :-)

Not familiar with flickr? Here's a little bit of
rambling info based on my experience with it...


-3-


Why use flickr?

Did you know that Blogger converts & reduces images to 72dpi? This usually doesn't matter for viewing on the computer, but it makes for horrible printing if you're sharing free digital images or papers. So, to get around Blogger's lower quality images, I pay for a pro account on Flickr and host my printable freebies there where they images can remain at 350dpi for great print quality.

What is flickr?

Flickr is an image hosting site where people upload their private photos or images they want to share. There are some lovely people with flickr galleries that have share alike settings or other settings
that allow you to use their images for different things.

What do those settings mean?

Each photo has a license setting.

You might see "all rights reserved" on an image;
that means it's one that we shouldn't save or use in any way.

flickr settings

But some images have a creative commons license - which means you are allowed to use the image (sometimes with exceptions). You can read all about the various types of licenses here, if you like:
http://www.flickr.com/creativecommons They'll let you know what uses different flickr members
have allowed (or not allowed) with their images. :-)

How do I find things on flickr?

Try searching on flickr using the keyword free... with any of these keywords: digital image, collage sheet; printable; paper; free vintage images; template; pattern; and so forth.


I hope this has been helpful to those who want to download
from flickr, and if you have any questions at all, please fire away!

Tuesday, March 13, 2012

3 Clean And Simple cards (with SRM stickers)


You guys may know that I was tragically born without the gene
that let's you achieve a Clean And Simple card. ;-)
Not sure why I find them so stinkin' difficult to do, but boy do I!

Do you find clean and simple
easy or tricky?


Since I love these stickers:


I didn't want to miss
this Clean & Simple challenge:


(CFC43 until Wed. 14th at 11:59 pm)

The first two cards may not
be truly clean and simple, but if the third one
isn't too clean, then I'll eat my stamps! :-D


A small & tall card
(6-1/4" tall x 3-3/8" wide)

1 hero arts large flower background

The flower image is my new number one stamp fave:
Hero Arts Large Flower Background cling stamp

Technique details:

1) Stamped on Kraft cardstock using Colorbox White pigment ink.
2) Heat embossed with white embossing powder.
3) Painted with Distress Inks (Broken China, Tumbled Glass, Victorian Velvet, Forest Moss, Pumice Stone)
4) Intensified the colours with Copic markers & then painted over with Perfect Pearls

Such a fun technique to do...
Hopefully you can see some of the shimmer in this photo:

1c White heat emboss Hero Arts large flower bkgrd stamp on kraft cs -Distress ink painting with perfect pearls

Do you like creating sayings for cards?

Sentiments are where I get lazy.
They make me cringe since I can never stamp
them perfectly. Let's just say Hooray for Stickers!

This sticker is just cut up & stuck on watercolour paper:

1b SRM thank you sticker cut from circle on watercolour paper and cardstock

(and it's on some blue cardstock too). Super fast!


A square & sloppy card:
(5 inches square)

2a SRM sticker coloured with copic markers - Hero Arts large flower background stamp in white

The background stamping is that Hero Arts Large Flower background again
(masked off & stamped messily in Colorbox white ink (with rough lines
drawn around it in black pen & splatters of watery white paint).

---

The "... I love you ..." sticker is stuck on a little bit of printed
(miniscule) text & I used Copic markers to colour on top of the sticker:

2b SRM sticker - Over printed text in tiny typewriter font then coloured with Copic markers

I just smudged the Copics while they were still wet, with a finger tip.
Then added a bit of black hand stitching on the tag.


An ultra-simple A2 card:
(5-1/2" tall x 4-1/4" wide)

3a super simple stitched SRM thanks sticker card

The white "thanks" sticker stuck on black cardstock &
pierced & stitched:

3b Stitched SRM sticker

I was surprised at how easy it was to stitch letters using the sticker since it makes
the paper stronger (and I found it made the stitched letters look so much tidier too!)
Plus, how cute is that font, hey?

The hearts are from a teeny punch that was $1.50 at Michael's:

3c detail SRM thanks sticker

I stuck a piece of Distress-inked paper under them (inks: mustard seed,
broken china, spiced marmalade).


Here are the stickers I used, in case you're curious
(they're highlighted in turquoise). I cut the brown "thank
you" out of the circle for the first card.

We've Got Your Sticker - Thanks:


Sticker Sentiments - Love:


Hope you are having the

most delightful of weeks!


P.S. full disclosure: I received the SRM stickers for free back in the day as part of design team work.

P.P.S. The coloured sticker on card number 2 was inspired by this amazing scrapbook page by Corrie Jones on the SRM blog.