Showing posts with label templates. Show all posts

Thursday, April 12, 2012

The Sweetest Day! (a new stamp artist, a give away & sunburst freebies)

edited to add: the give-away is closed now.
Congrats to Marilyn!

butterfly pair

Boy oh boy, have I missed You!
It's been an odd couple of weeks with migraines, the flu,
and a cut up thumb (clumsy me!)

but enough of the whinging...

I'm all better & thrilled to be back with a card
a giveaway, and some new news!


1... a brand new artist's collection from Purple Onion Designs
2... a stamp giveaway
3... cheap tricks - using a printable sunburst image for a speedy card
4... free customizable sunburst overlays
5... inspiration from fab designers


-1-


It's a new collection from
Purple Onion Designs!


This butterfly little butterfly pair
is a new set called "Flit & Flutter"

flit & flutter butterfly stamps from Purple Onion Designs

The sky is a chipboard circle, done with emboss resist & Purple Onion Designs' Paisley Elements. The clouds are just doodles on cardstock that I swiped roughly with white acrylic paint, then cut out & stitched.)

The butterflies were stamped in black Archival ink, clear embossed, then coloured with Copic markers, and cut & layered.

These 'Flit & Flutter' butterflies
are part of a whole new stamp collection called
"The Sweetest Day!"

It's illustrated by an amazing artist Stacey Yacula
(who is brand new to the stamp designing world!)

It will be available next Tuesday (April 17th).

-2-

a stamp giveaway from Michele
at Purple Onion:

flit & flutter butterfly stamps from Purple Onion Designs

Want to win the
butterfly stamp pair?

Just leave your name and email in the comments
& I'll draw a random winner by Sunday April 15th
(which is coincidentally my almost 40 years old b-day) :-)


-3-

A printable sunburst pattern is a
fun cheat for a super speedy card:

You could use the printable as is
(simply print and use- maybe add something)

or you could
just snip between the lines ...
003

and stick it on a piece of cardstock:

009

I swiped it with Picket Fence Distress Stain (to soften it)
and then stitched it:

046


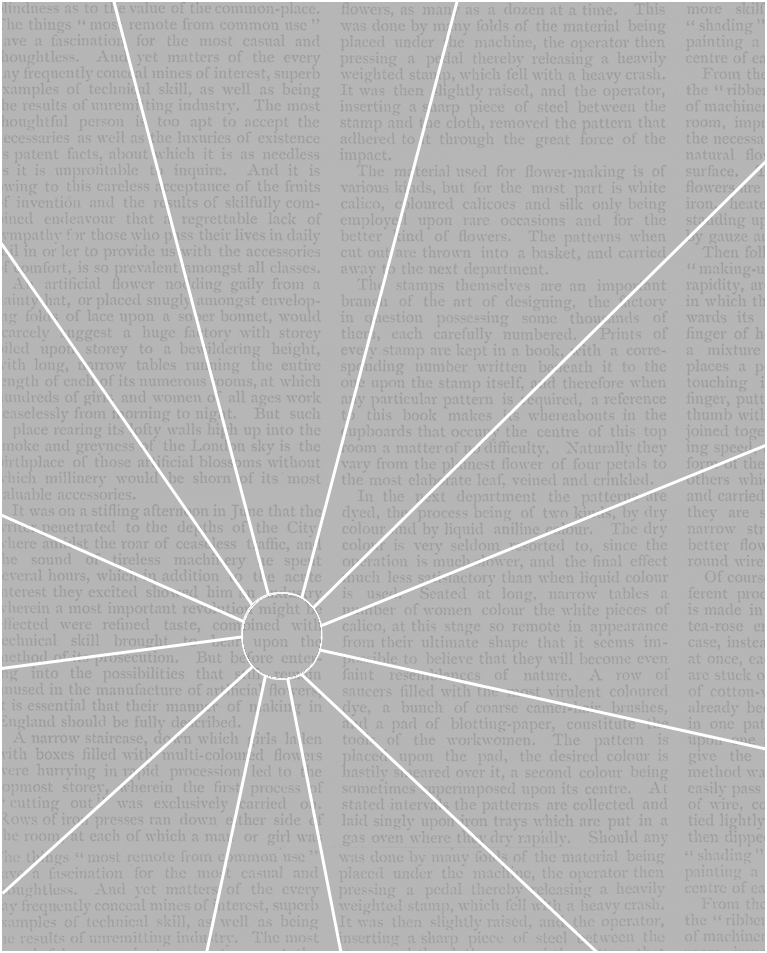
If you like the patterns I used on this card,
here's a printable version for you:


To save these files:
Firefox/Chrome: right click on the image & choose "save link as"
Explorer: right click on the image & choose "save target as"

6x6 inch size:
(or to trim for square cards)
Printable 6 inch square sunburst mel stampz
or you can find it here on flickr

A2 size:
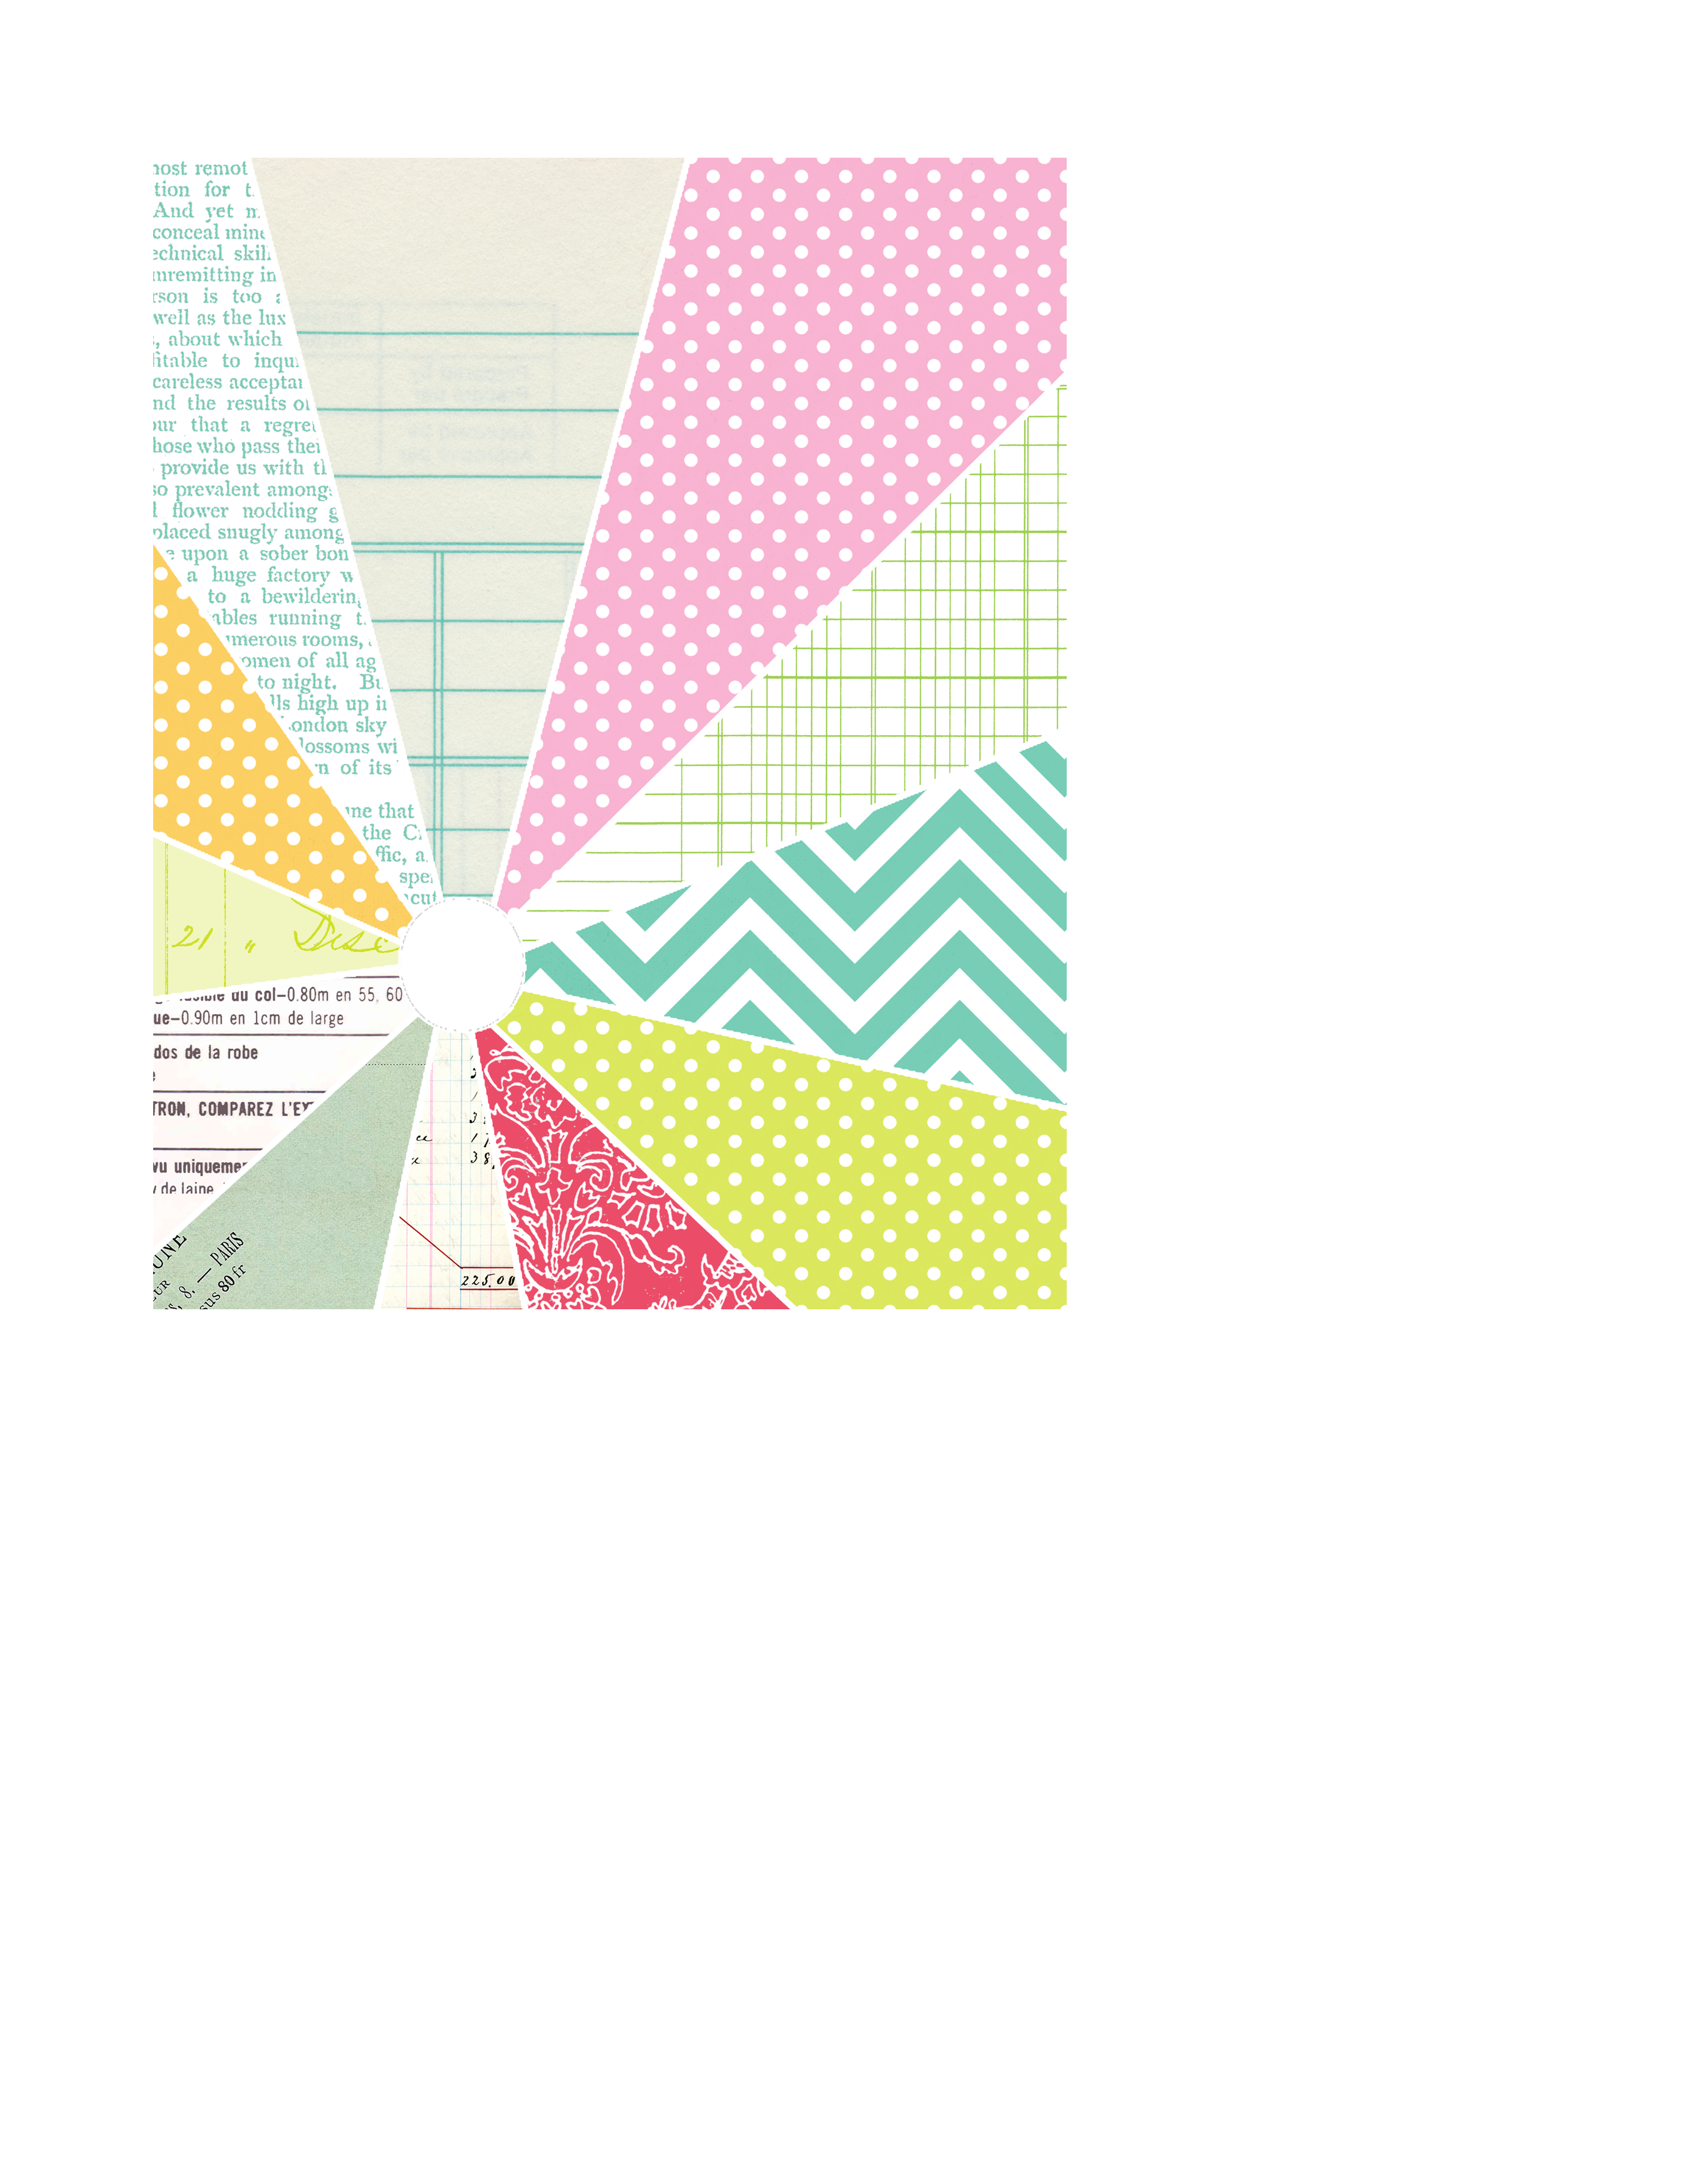
Printable A2 size sunburst mel stampz
or here on flickr

....And....
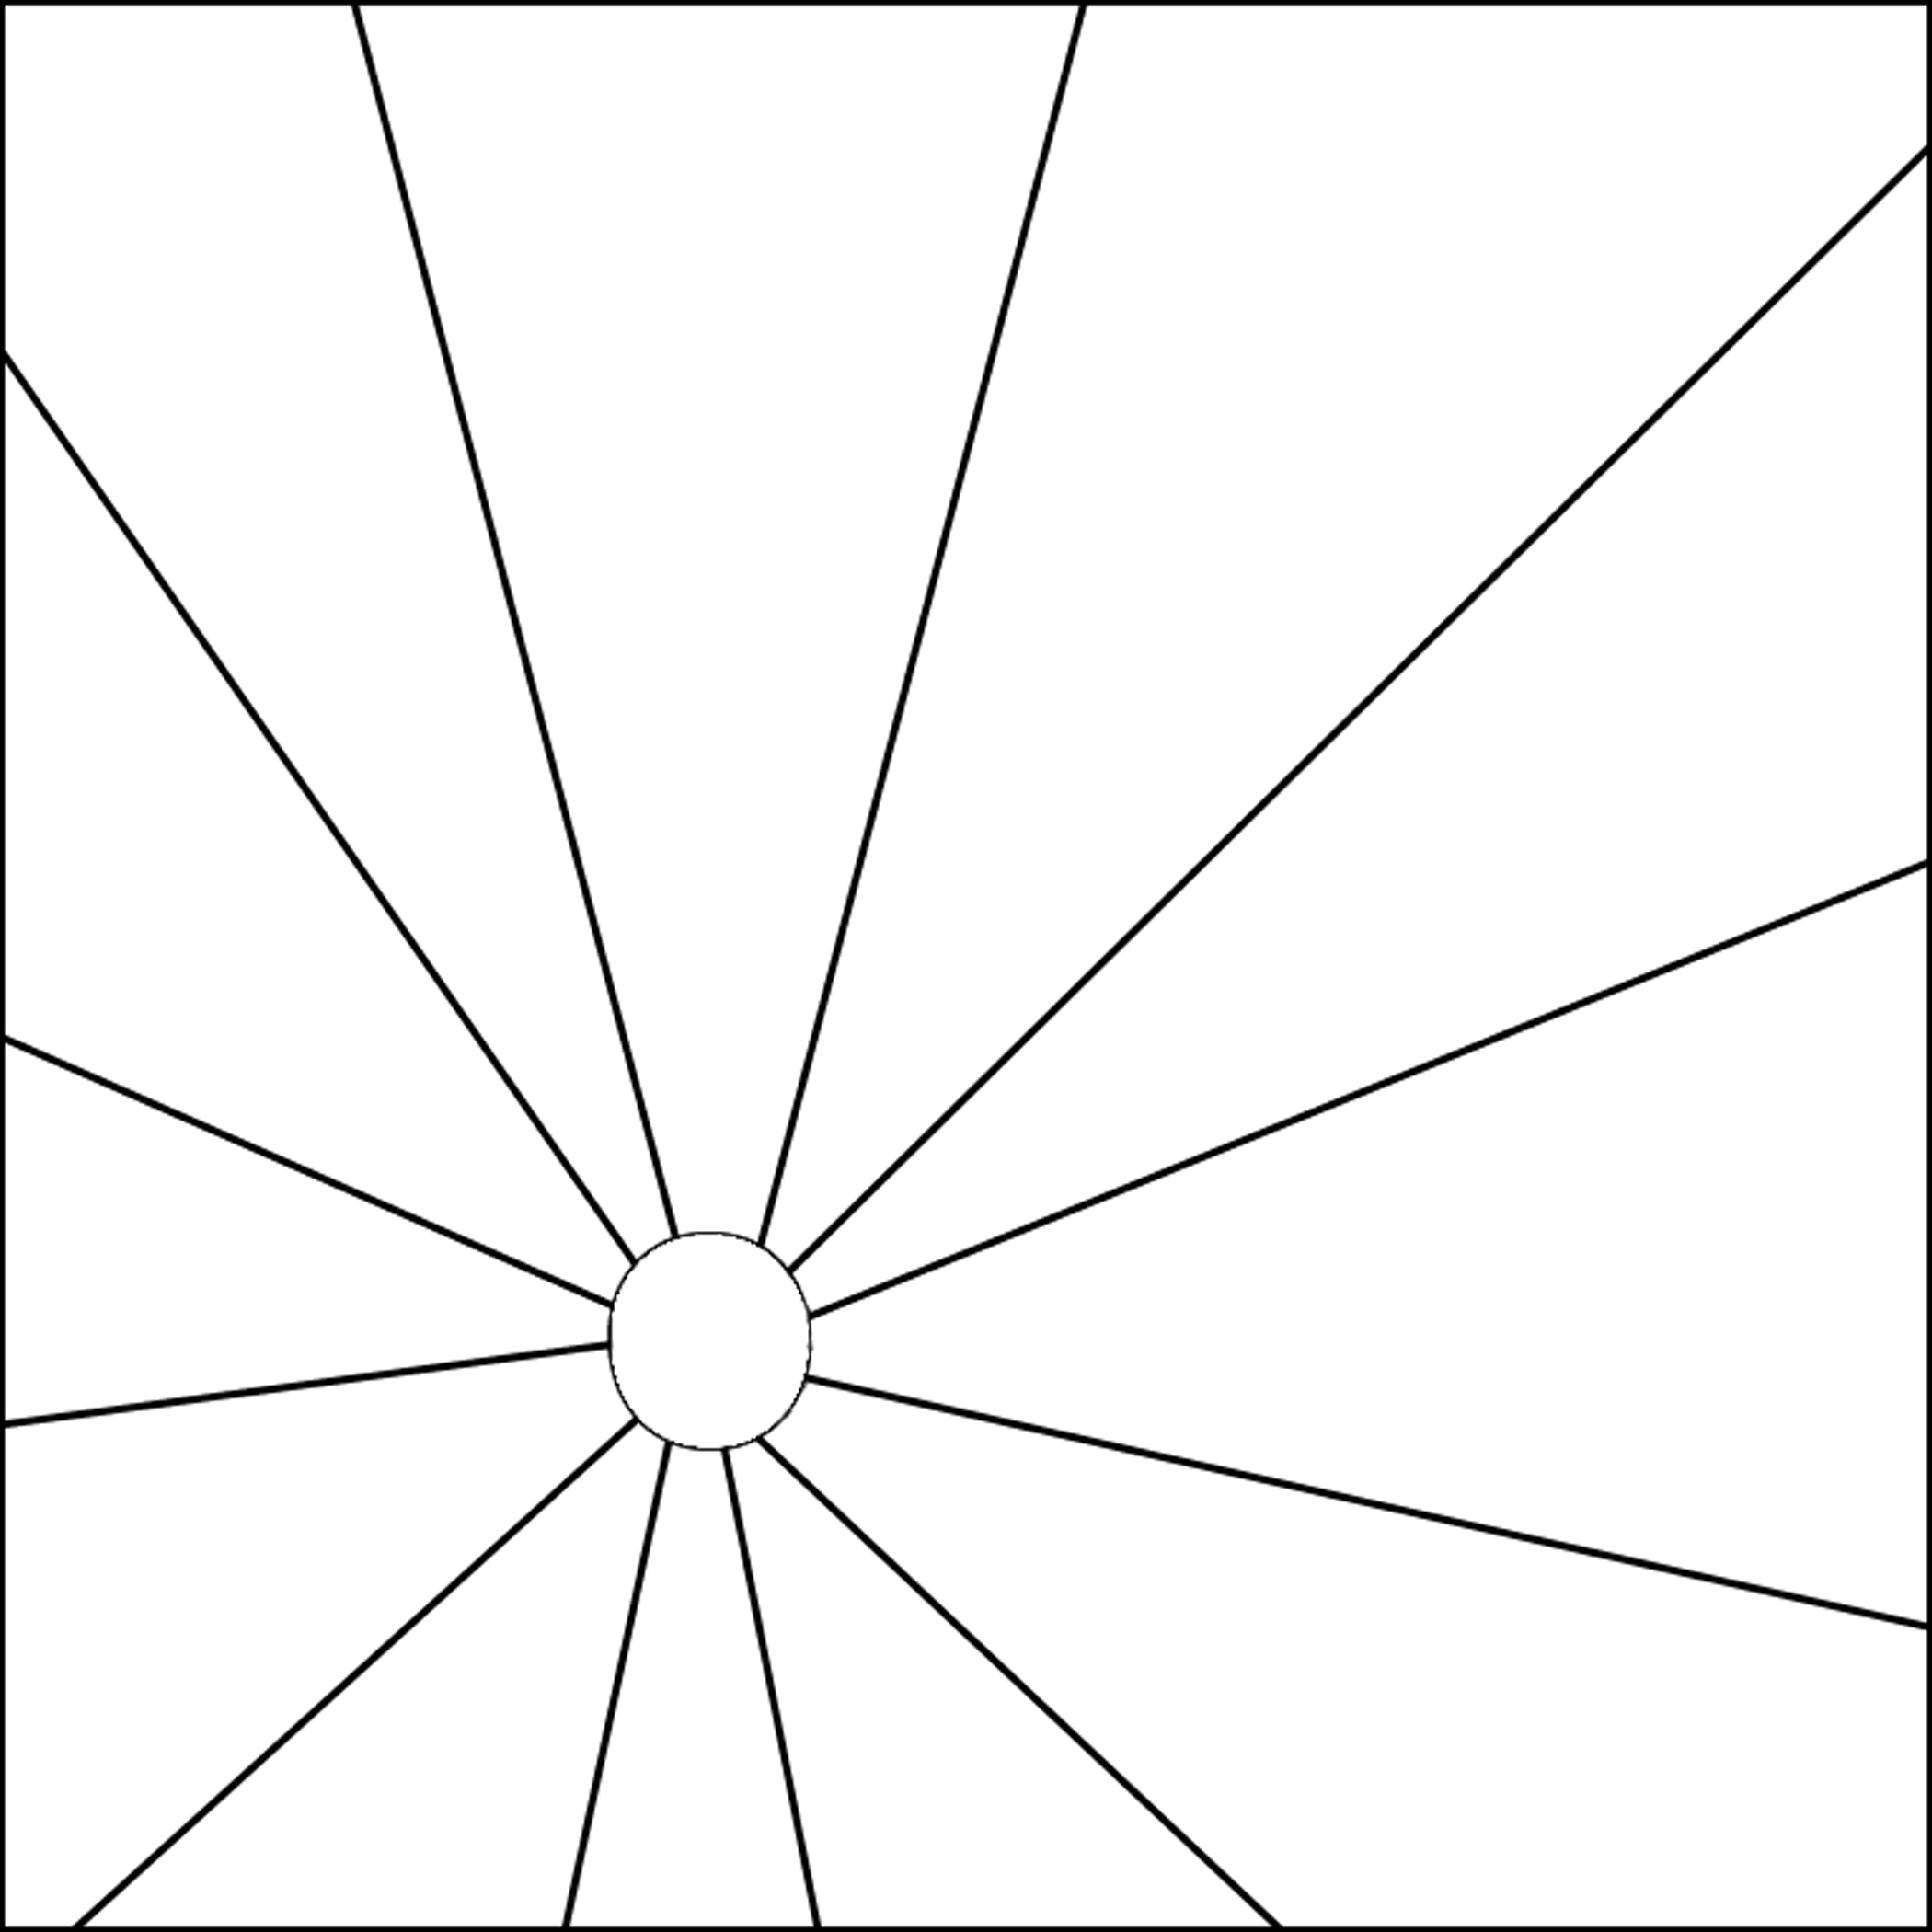
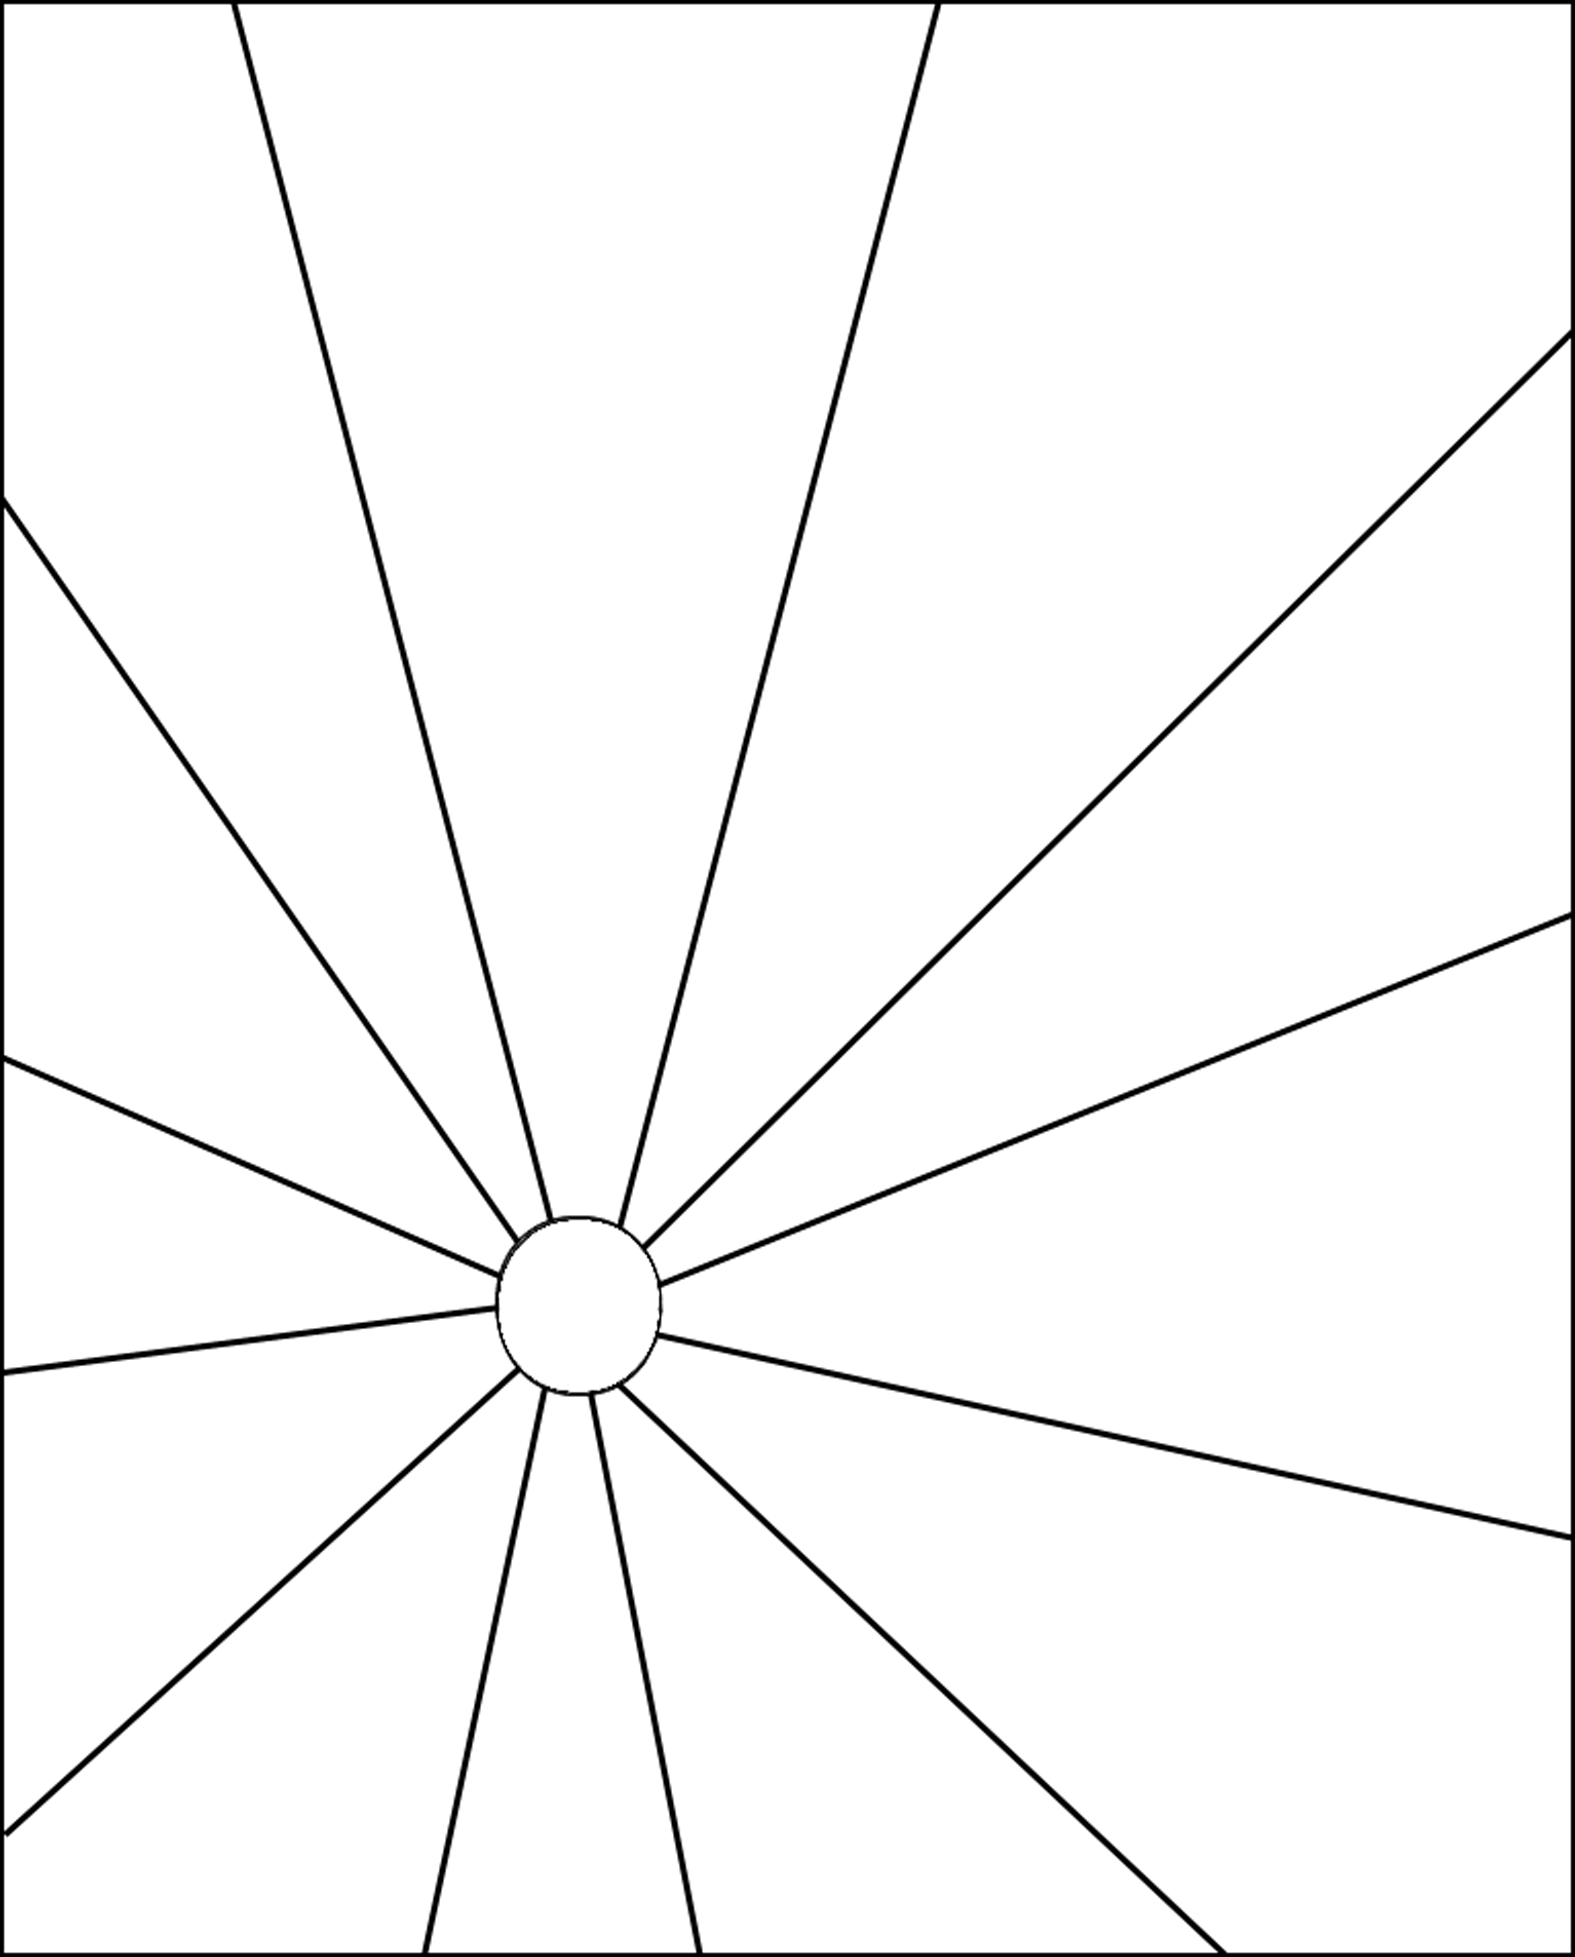
I also made plain overlay templates in case you
wanted fill them with whatever patterns you like:


-4-

(overlays/templates)

Note: these may look invisible or strange in flickr,
but they are overlays with transparent backgrounds
(that you use as PNGs to fill with pattern or lay over digital papers)
There's a tutorial on filling in Photoshop here:


Sunburst overlays
square (6" x 6")

To save these files:
Firefox/Chrome: right click on the image & choose "save link as"
Explorer: right click on the image & choose "save target as"

black sunburst 6" x 6" sized overlay:

or here on flickr

white sunburst 6" x 6" sized overlay:
example WHITE square sunburst overlay mel stampz
or here on flickr


Sunburst overlays
A2 size (5.5" x 4.25")


To save these files:

Firefox/Chrome: right click on the image & choose "save link as"
Explorer: right click on the image & choose "save target as"

black sunburst A2 sized overlay:

or here on flickr

white sunburst A2 sized overlay:
example WHITE  A2 sunburst overlay mel stampz
or here on flickr


-5-


You can see more sneak peeks
(and read about Stacey & the new collection)
on the purple Onion Designs blog here:


Where you'll see more examples by some fab designers
(and some using the sweetest 'Rosie' rabbit stamp)
and more chances to win stamps as well!


Thank You ever so much for checking this out.
I'll be back on Sunday with another sneaky peek,

Monday, November 14, 2011

wee houses list turned 100!


The house link list I made 3 years ago
has turned 100!


over 100 house links - templates too

It took a while (what with the strange migraine mansion that is
my brain lately) but I've been picking away at the task bit by bit, so now
there are over 100 house templates, tutorials, and ideas.

(By the by, it's all grown up with loads of photos,
for easy browsing, as well.)

Hope it's useful to You,


Friday, August 26, 2011

new 3x3 envelope & liner templates

Update on pop-ups: I'm still working on a fix. I'm hoping that as of today, Saturday, they are gone. Sorry for the annoyance.

ACK, I've been hacked! Found a pop-up hack here on the blog, my Giant apologies if you've been seeing pop-ups. What a horror.


Concerned your blog might have a hack? Allow pop-ups on your blog (to check it out). I had to get rid of stats counters & other 3rd party things & delete history and cookies...

The hack required some emergency blog-house-keeping to remedy, and then, in trying to revamp the 100+ envelope projects post, I noticed there was no new template for a 3x3 envelope (one of the best sizes, methinks.)

So, here are some new...

Envelopes for 3x3 inch cards
(or 7.62 cm square cards)

Finished envelope measures 3-1/4" square (or 8.25 cm)
Assuming I have the conversion to cm right(?)

Download the 3x3 ENVELOPE
as a PDF on Acrobat here

---
or click this picture, then
right click & select "save as PNG":


or go download the JPEG on flickr here


Download the 3x3 envelope LINERS
as a PDF on Acrobat here

---
or click this picture, then
right click & select "save as PNG":

or go download the JPEG on flickr here

---
How to Download files types
& terms of use here


Happy weekend crafty people!

Monday, August 1, 2011

New simple purse box Templates


Hi Guys, sorry for the wait on these simple purse templates.
Mr. Migraine is so in love with me that he just won't leave my side.
(The jerk!) ;o)

the Amber Ink purse post is here:
Amber Ink gift box_mel stampz
(I'm having loads of fun being a guest DT-er
with them this month!)


Hopefully this little purse box is useful to you.
As usual, there are 2 styles of template:

Style #1) a version with dotted score lines on it (for those who like them) &
Style #2) a version with NO dotted lines (just tick marks showing where to score, so you can print them and make box that looks tidy inside as well as out).

Simple purse box (with score lines) JPEG:
Simple purse box (NO score lines) JPEG:

(tick marks indicate where to score lines)
or
JPG on flickr here (PDF linked there too)


Panels to decorate the purse box JPEG:

or
panels JPG on flickr here (PDF linked there too)


Liner for the inside of the purse box JPEG:

or
liner JPG on flickr here (PDF linked there too)


Craft shows? These templates are A-Okay to use for craft shows etc. If you sell your crafts & you'd like to use these templates to make handmade goods to sell, please feel free!

SVG? If anyone would like to make & share a .cut file or SVG file to share for free, go right ahead. (Please, just let me know, so I can link to you. And no resale as a digital file or any other template. Thanks!)


I prefer the PDFs for templates since all the sizing
will work best if you use PDFs, but thought you might like other
options, so these are in JPG also.

To save these as JPEGs (on Blogger):
.
1) Click the image.
2) Then, right click on it & choose "save as"
---

To save as a PDFs (on Acrobat):
.
1) Visit Flickr by clicking the link & read the descriptions
2) Click the link for the PDF
(PDFs are linked in the Flickr description for each colour
they are hosted on Acrobat.com)
---
.
To save them as JPEGs (on flickr):
.
1) Click on the link below each image in this blog post, to go to flickr
2) Then Right click on the image in flickr & a box should open
3) Beside "View all sizes:" select original
4) Right click and select "save image as"
(or if your browser is explorer it will say "save picture as")


Hope they're fun for someone,


P.S.
The fabulous wonderful lovely Michele has made SVG files for those of you with cutting machines. Thanks so much, Michele. You ROCK! Visit her to Download SVGs here.

Friday, July 8, 2011

Embossed Leather Look with Crayons (on a purse)

This purse box is a revamp of an old template you might recall.

It was made to give to
my cousin--and soul sistah--Shea.
(She adores red.)

red crayon rubbed embossing purse

Shea is also a big fan of butterflies, flowers, and
natural things with lots of texture.

The leathery texture on this is made by pressure embossing plain old red
cardstock; then adding the world's most affordable (and nostalgic) craft supply:

crayons

Crayons!


1... making a 'crayon rubbed embossing' purse (with a leather look)
2... cheap trick for cutting small paper bits (re-visited)
3... the free purse templates (an oldie)
-1-

...make a crayon rubbed embossed
purse (with a leather look):


  • Purse template (print 2) Free template linked at the bottom of this post, or well over 100 purse styles available in this link list.
  • Cardstock in the colour of your choice
  • Pressure embossing machine
  • Embossing folder (This one is Cuttlebug's plum blossom folder from their Asian set)
  • Crayons to suit the cardstock colour
  • Stamps (if you want)
  • Embellishments (I used embroidery threads, patterned paper, decorative brads, butterfly cut from BasicGrey Ambrosia paper & jazzed up).

This crayon technique is fast and ever so easy!
It gives you a leathery look to your embossing:

leathery crayon rubbed pressure embossing
(It looks and feels more leather-like in person, honest!) ;)

Step 1) Print the purse template & build it.

Step 2) Print the template a second time on the same cardstock (use this second printing to cut panels for the front, back, sides & bottom. that you can pressure emboss)

Step 3) Pressure emboss the panels in a Cuttlebug, or a Big Shot or what have you.

Step 4) Rub crayon over the raised areas of the embossing. I used different red crayons ranging from light to dark red, with the papers peeled off, and rubbed the crayons on their sides. The crayon gives you a leather look. (Tutorial on crayon rubbed embossing here or Crayon Resist embossing here).

Step 5) Embellish however you like.

I pierced holes along the edges of the embossed & crayoned panels and then stitched them. They are added to the purse all over...

bottom & sides stitched
(even on the bottom)

The handle was made with red cardstock layered over black cardstock:

stamped & heat embossed handle

I heat embossed the red cardstock handle with a
background stamp (a very old Paisley Stampin' Up background) in Versamark ink and clear embossing powder.

Then I adhered the red cardstock to a wider strip of black
cardstock, pierced holes, and stitched it with embossing thread. (The ends of the stitching were hidden when I adhered the handle onto the purse box.)

It was secured onto the purse with brads, so it would be sturdy.
To cover the brad backs, I added roses:

roses to embellish brads holding handle on
They were embossed in black, coloured red, & cut from this...

...Victorian Rose stamp

from Impression Obsession
(I have no affiliation with I.O. I bought
the stamp when I was designing with
Paper Garden Projects) :0)


The middle strap over the top of the box is also attached with decorative brads:

Basic Grey butterfly closure

I added BasicGrey Ambrosia patterned paper and more stitching. The butterfly is cut from BasicGrey 6x6 paper.
Its body is a wee silver metallic bugle bead & the wings have glitter & clear lacquer glue to bling-ify them (and make the whole thing more durable).

And the little butterfly trail carries onto the back of the purse strap:

closure back

The trail was made by adding knots of red embroidery thread.
(After sewing, I hid the mess on the back by lining the strap with red cardstock & then adding it onto the purse).

-2-

(for cutting small paper bits)

If you're cutting little things from patterned paper
(like these wee butterflies) you might like to try this tip.

Paint the back of the paper with acrylic paint (or
gesso) to strengthen it before cutting:


-3-

(Two free purse templates & tutorials
for how to put them together)


Thank You so much for having a look,
Hope your day is full of the kind of fun only a crayon can bring!