Showing posts with label 3D-projects. Show all posts

Saturday, December 7, 2013

Gilded Paper tutorial on Splitcoaststampers :)


Gilded Paper Tags

it's for a really easy foil leafing technique that I'm calling Gilded Paper. :)

Gilded Paper - tutorial at Splitcoaststampers

Have you ever gilded anything with silver or gold leaf? 

I've done a few things for around the house, like a recipe box & a knife block. But when it comes to card making I was reluctant to use that liquid sizing adhesive that comes with leafing kits. I didn't want the paper to warp. So... to get some shimmer without any goopiness I thought 'why not use some sticker paper instead?'

http://www.simonsaysstamp.com/servlet/the-48022/MEDIA-dsh-wht-dsh-adh-printable-white-sticker/Detail


Turns out that the Silhouette printable sticker paper is perfect for silver leafing with much less mess, and it leaves you with a nice papery backing on your silver piece that is really easy to adhere to your cards & other projects. They also have a clear sticker paper; I've never tried it but it sounds interesting (Of course, you could use any sticker paper, label paper, or any sticker at all, instead.)


gold Gilded snow flake die-cut resist tag copy

For this box, I made a gold foil tag with an Impression Obsession snowflake die (cut out of thin white paper and stuck onto the sticky tag before adding foil) just to make it that much easier.

I added some snowflake flowers (so easy!) just punch a snowflake shape (these are Martha Stewart snowflake punches.) Then, pierce a hole in the center & then add a floral wire & something to embellish the center (I used a rolled up metallic pipecleaner bit glued on). Then add some leaves.

Edited to add: oops wrong graph paper! Here's the one the lid was actually wrapped in.
That's what I get for having too many graph papers on flickr. lol


22-cool_grey_NEUTRAL_small_scale_GRAPH_solid_letter_size_300dpi

(The letter size is also here on Flickr
 & 12.5" square here as well.)


embossed silver gilded paper tag


This box got a super simple embossed tag using this Cuttlebug Provocraft Snowflakes folder 

And a metallic pipe cleaner snowflake embellishment that was easy to shape by twisting & bending the pipe cleaners into shape. Then I layered on a punched vellum snowflake & mother of pearl button.


tiny_antique_graph_paper_letter_size_300dpi

(The letter size is also here on Flickr)


ho ho ho tag - free silhouette cut file

For this box, I added a die cut tag that says 'Ho Ho Ho' It was cut on the Silhouette Cameo. 

And the clear beaded snowflake embellishment is one that I made by cutting a circle from clear plastic packaging, piercing hole with a paper piercer (using a pencil sketch as a guide) then stitching on white seed beads using white thread and a fine needle.

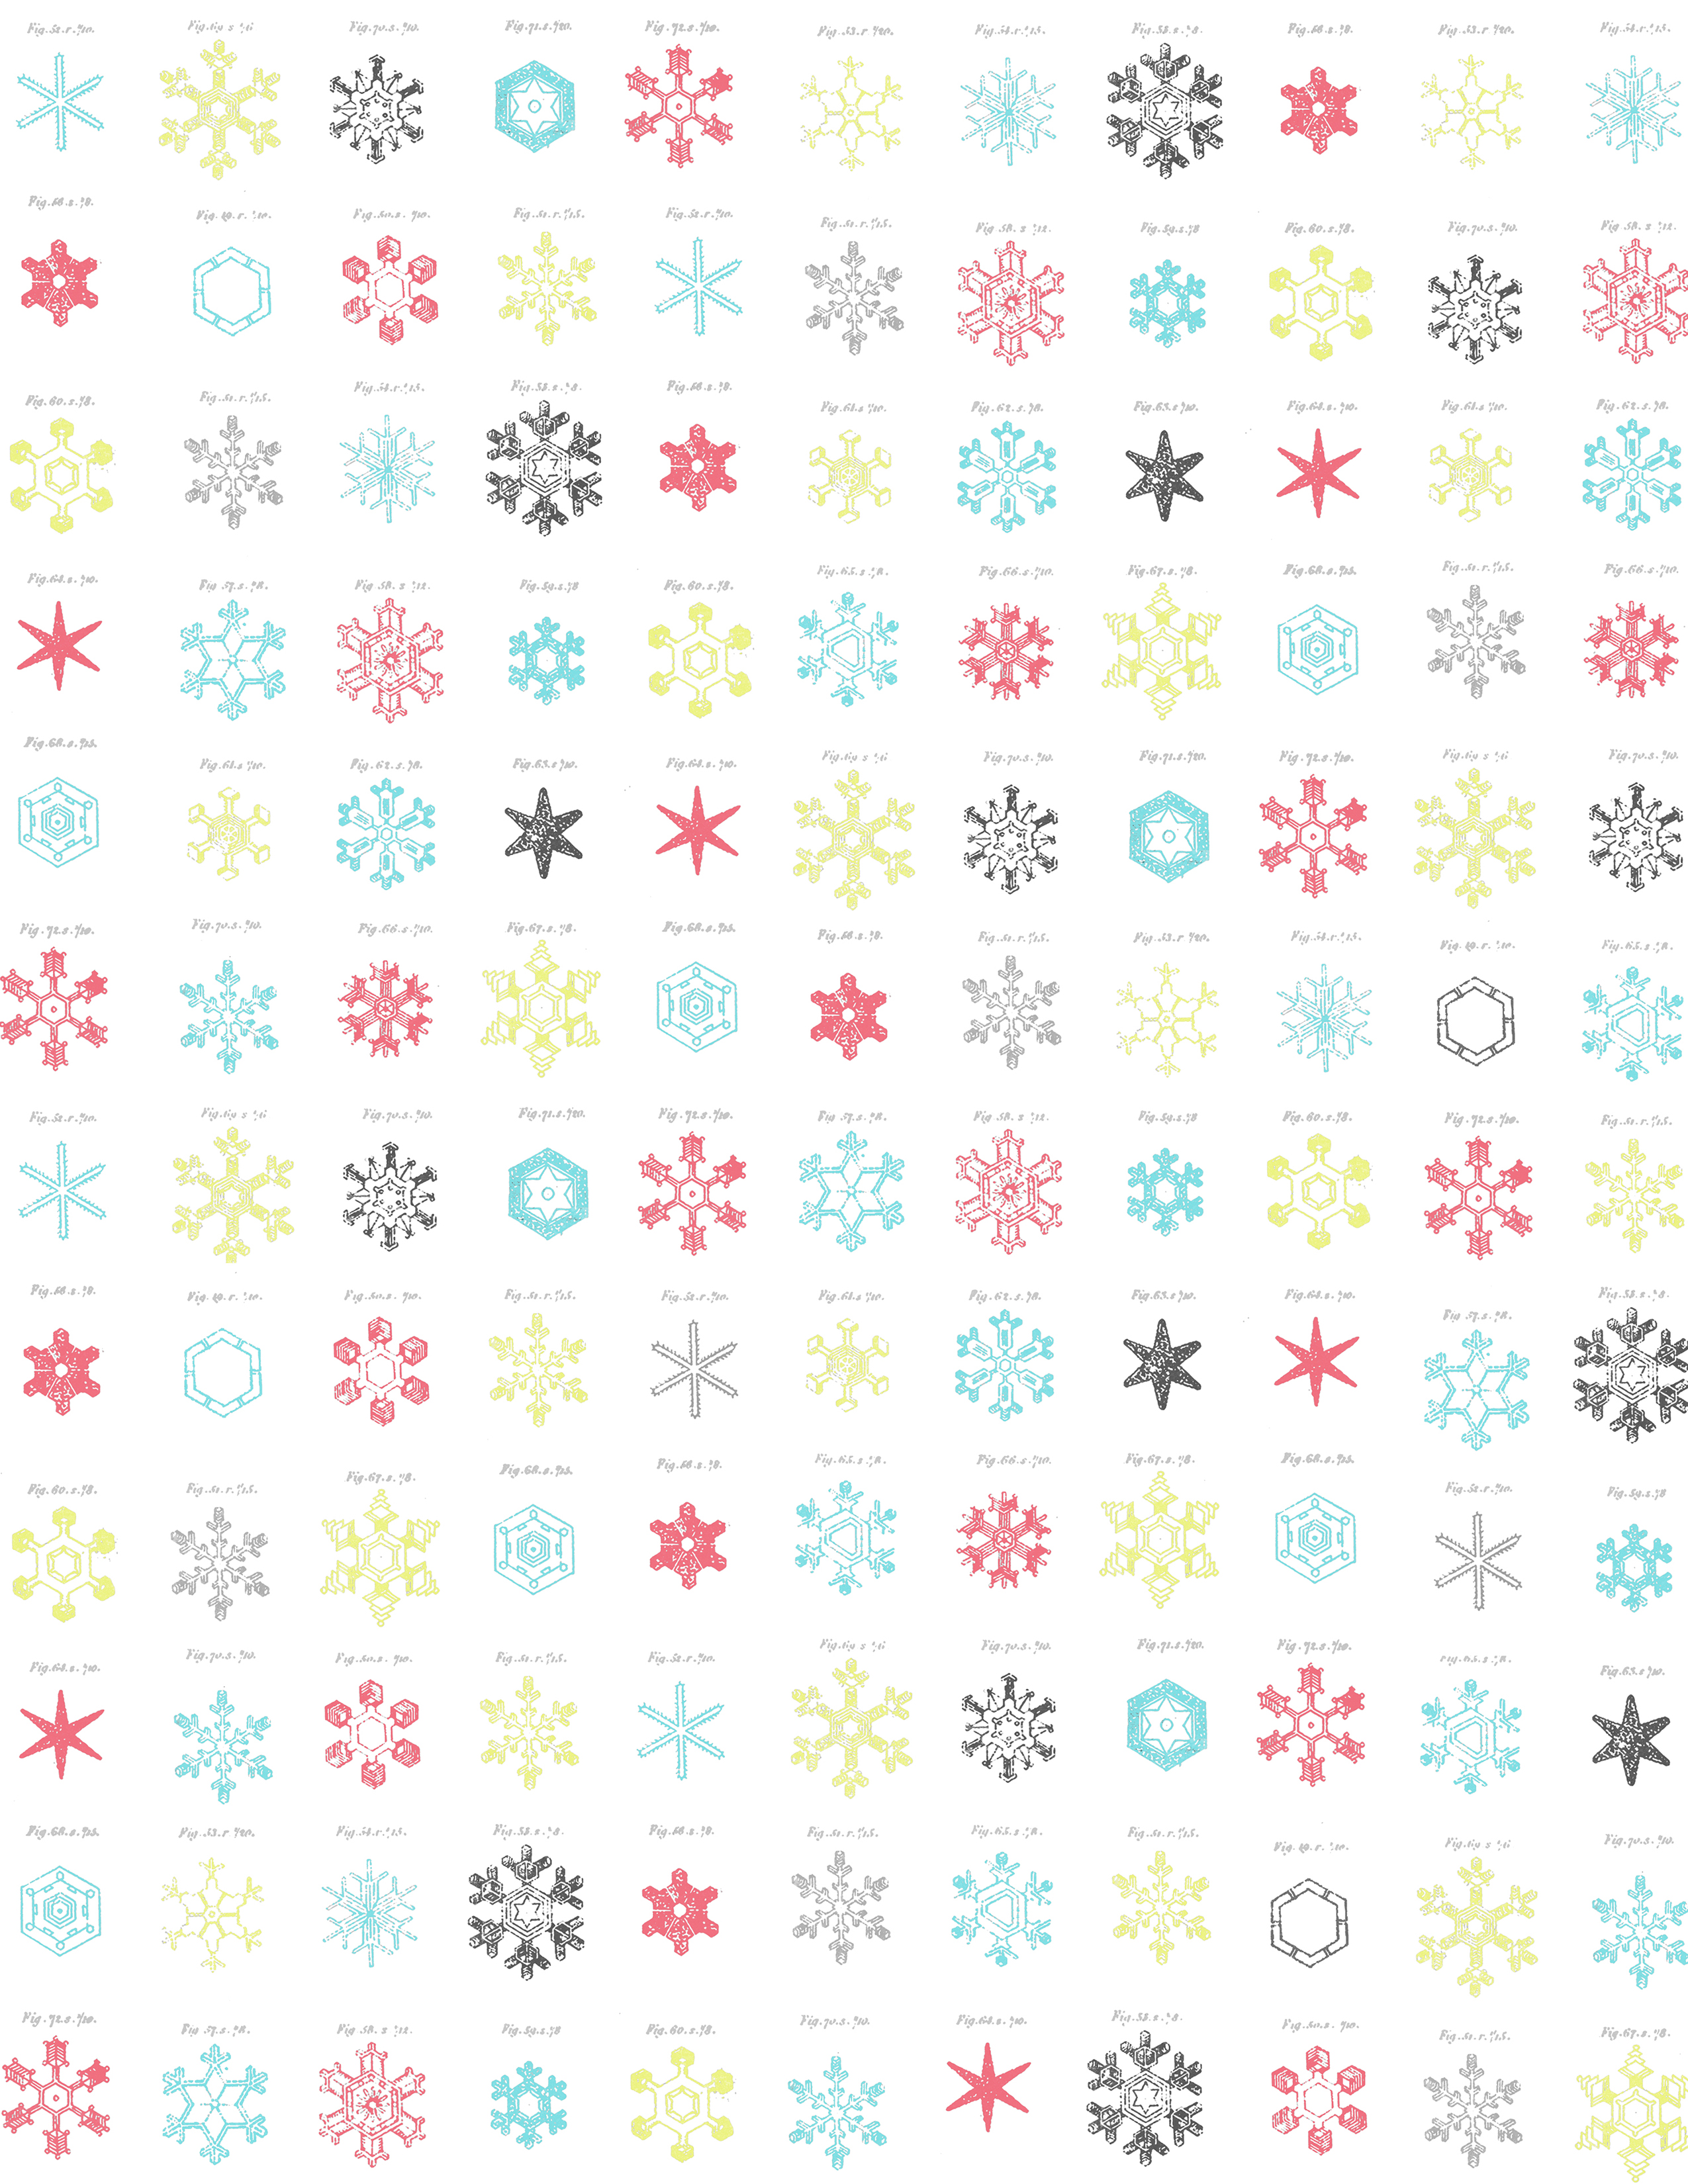
The box top is wrapped in this free printable Snow Crystals paper:

snowflake_snow_crystals_LARGE_SCALE_letter_size_paper_300dpi

(The letter size is also here on Flickr
 & 12.5" square here as well.)


How to save these single papers directly from my blog:

PC users in Firefox/Chrome: Click on the paper you want & it will open a new window, 
then right click on the image & choose "save link as" 

PC users in Explorer: Click on the paper you want & it will open a new window, 
then right click on the image & choose "save target as"
 .
Mac users: Please visit the flickr links for each paper, then right click select 'all sizes'
& click on "download the original size of this photo"
 

You can also find the full set of Christmas papers, here
(there are three sets that I shared last year)...
  free printable Christmas paper set #2 preview


This digital work is offered up for free, but mainly for personal use or handmade sale items only.


Here's to shimmery happy craftiness! ox

Monday, July 8, 2013

a Silhouette Challenge project

This might look like a card in the photo, but...

 1 Silhouette Challenge cradled panel collage

... it's actually a collage on a wooden canvas
 to hang on the wall (or give as a gift):

Silhouette Challenge wooden canvas collage

(Psssst, here's the secret: at $3.50 the wooden canvas base
couldn't be a more affordable supply for making gifts!)


-1-


This is a project I made as part of The Silhouette Challenge facebook group.
The goal of the group is to make a unique Silhouette-cut project each month & link it up.


 (This is my first one, so far!) :-) If you'd like to join us, simply drop Lauren a line.
Her blog is The Thinking Closet & you can reach here here via email.

...................................................

The wooden canvas (or 'cradled panel') was inspired by my blog buddy,
Lisa, who just created a stunning collage, that she shared on her blog, here.

I've had a few of these wooden canvases around for a while &
have been wanting to share them with you, since they're so very handy!


-2-
(use a wooden canvas to make a quick gift 
that's as easy to make as a card!)


1b Cradled panel - side view


This is what my canvas looked like before I painted it, a wooden
 'cradled panel' base that measures 6x6 inches & 1/5 inches deep:

wooden canvas or cradled panel


Cradled panels are surprisingly light, so they are very easy to hang.
(You can just use a push pin in your wall!)
 
  Their light weight also makes them quite affordable to ship in the mail.
They're made from a renewable resource, which is very important to me.
& Did I already mention they are 'cheap'? (The one I used was $3.50!)


 Want to know where to find them?

Since I live in BC Canada, I bought mine at Opus Art Supplies. If you're in the USA, you can find them at Dick Blick (I've never used that brand myself, but how exciting that they even have round ones!)


Do you sell your creations?

When I was researching the best supplies to make collage art to sell, these came up all the time. 
Many artist's prefer them to cloth canvases, because they are less likely to rip or crack in the mail.
They are great for encaustic work or beeswax collage & they can stand up to many collage layers.

-3-


Collage (on a wooden cradled panel) Silhouette project


This is a rather simple project that makes a quick gift (it's
basically akin to sticking a handmade card on a wooden panel):

1) Cut a silhouette background shape from paper
2) Add a little paint & ink to the paper
3) Paint a wooden canvas
4) Stick the paper on the canvas & trim it
5) Add a focal image with some embellishments


  • A Wooden 'cradled panel' canvas
  • Paint (I used Black craft paint)
  • Paper (to cut in the Silhouette Cameo) 
  • A cut file to create a background texture with.
  • Gesso/White Paint (optional: a brayer to apply it to the cut paper)
  • Distress Inks or other colour medium of your choice
  • Miscellanous paper embellishments (or a focal image)

1 cut a design in the Silhouette cameo (i used neenah solar white cardstock)

Step 1) Make an interesting background element out of cardstock. I cut a design using the Silhouette cameo... this Small Fancy Gate file from the Silhouette store. It's cut out of Neenah Solar White cardstock.

 2b it gives you lots of texture

Step 2) Add texture to your cardstock, if you like.

2a cut a pat
    To add more interest, I applied acrylic Gesso to my Silhouette cut cardstock, using a brayer. After the gesso dried, I used a foam applicator to add colour with Distress Inks. (If you don't have any Gesso, white acrylic paint would work nicely and any ink or colour medium would work as well).

    3 paint a wooden cradle panel in the colour of your choice or prime with gesso brush some matte medium onto the

    Step 3) Paint a cradled panel (I painted mine with black craft paint). Then adhere the cardstock to the wooden panel using acrylic matte medium.

    I brushed on a generous coat of matte medium. It goes on white like glue, as you can see in the photo above, but it dries clear and matte (which is just a fancy art term for not shiny!) :-)

    I use a local brand Kroma (from Vancouver BC) but Golden also makes it (they list some uses for it in art, here), and I have heard amazing things about Claudine Hellmuth's multi medium (matte).

    4 lay your Silhouette cut paper onto the wooden canvas & press into the matte medium with a rag (this also helps remove excess matte medium

    Step 4) Dab off any excess matte medium using a rag. (It washes out of the cloth nicely with a little warm water).

    5 Trim away the excess silhouette die cut, once the matte medium has dried

    Step 5) After the matte medium dries, trim the excess paper off using scissors, or a hobby blade.

    6 Soften the look of the edges with a tiny bit of distress paint (black soot)

    Step 6) Distress the edges to soften the look, if you like. (I added a tiny bit of Black Soot Distress Paint & wiped away the extra with a damp cloth).

    7 Add a focal image - I like weldbond glue because it's very ecological, it's strong & cleans up with water

    Step 6) Add a focal image - To adhere things like this, I love Weldbond glue because it's very ecological (it's non-toxic & has the eco-logo) Plus it's also strong & cleans up with water.

    8 check on it & press down a little while drying

    I added a fair amount of Weldbond and pressed on it a little here & there, to be sure it dried flat.


    bird on a branch free digi image by mel stampz

    This digital work is offered up for free, but mainly for personal use only.


    The flowers on the focal image are hand-cut fabric flowers:

    9 I added hand cut fabric & cardstock modpodge flowers stamped with paisley heat embossing

    They were made like this:

    1) ...printed a free flower template onto heavy cardstock.

    2) ... added the fabric with Mod Podge (just coated the cardstock with a layer of Mod Podge & stuck fabric on it leaving the flower template printed visible on the back).

    3) ...stamped on the fabric with Frost White Colorbox ink & this paisley stamp & heat embossed the ink with clear embossing powder. Distressed them, to look tea-stained, with a little Antique Linen Distress Ink & water.

    4) ... Cut the flowers out & shaped them using a stylus tool (or the pointy wooden end of a paintbrush).


     (I just swapped the book pages for thin white fabric, here). :-)


    ...I also used the Weldbond to glue the flowers on & beads in their
    centers. Just dropped a blob glue in the middle of each flower...

    9b with add a dab of glue...

    ...and then popped in the bead:

    9c ...and a bead drop into the dab of glue & let dry

    & that was that!

    1 Silhouette Challenge cradled panel collage


    If you'd like some ideas for how to use your silhouette,
    these projects by the Gals in the group are sure to be fun!

    DIY Paper Star Lanterns by Me & My DIY
    A Jar of Gratefulness by We ♥ Cards
    Laundry Room Labels by Unoriginal Mom
    Kids Step Stool with Sass by Joy & Gladness of Heart
    Magnetic Perpetual Calendar by Everydaypaper
    DIY Graduation Gift by Super Sweet Life
    A Silhouette Challenge by Home at Eight
    Oval Coffee Table Reveal & More! by Give Me a Paintbrush
    Stamped Gift Boxes by Coley's Corner
    Monsters University T-Shirt by Tried & True


    Whew that was a long one, hey? Thank You for 
    having a look & Happy Creating! ox


    P.S. Just thought I should let you know, I have no affiliation with any of the companies whose products I've mentioned here. They're just things I use and love & I'm only linking them in an effort to make them easier to find for You. :-)