


It's day four of MFteasers (new MFT Jolinne stamps!)
Today (Tuesday April 6th at 11 AM E.S.T) you'll find links to
all the day 4 teaser posts here on Kim's blog!
all the day 4 teaser posts here on Kim's blog!

If you missed the other days, you can see them here:

1...New & Nifty Teaser sets for My Favorite Things!!!
2...Enabler Alert: sweet Jolinne ;o)
3...Tutorial for this Jolinne card (scratched Gesso texture technique--used on: Jolinne's hair here; pants in yesterday's post; and fur in the post from the day before.)
-1-

New Jolinne sets:
- Sweet Spring (used on my card here)
- Sitting Pretty (used by some of the ultra talented MFT gals)
on Wednesday April 7th in the MFT boutique!
-2-

Meet Sweet Spring Jolinne & her bunny buddy! :O)

Know any Ballerinas; Little girls? Women who are kids at heart?
( I know some twins who take dance, so this set couldn't be more perfect.)
Or you could just be someone who likes Wabbits:

teeheeheeheeheehee
(This image is so cute-ified that it gives me the giggles!)
Or you could just be someone who likes Wabbits:

teeheeheeheeheehee
(This image is so cute-ified that it gives me the giggles!)

Jolinne's dress is pierced & stitched
(with beads at the waist & plain stitching at the hem):

Her ballet slippers are tied (with a single strand of embroidery floss)
actually pretty easy considering how small the bows end up:
actually pretty easy considering how small the bows end up:

I coloured the thread with Copic markers to match
(the Copic stiffens the thread & makes it easier to tie)
Bunny has a fancy dress on too! :o)
And both the bunny & Jolinne have flowers in their hair...

(please see yesterday's updated post if you'd like instructions for the wee flowers)

Copics on Gesso cardstock:
(scratching to get the lines in her hair
& gesso to get lots of play-ability for building colour):

This technique is hubby approved (C. said "I love her hair; great texture) bwahaha

- Swipe gesso onto cardstock;
- Stamp & emboss an image on it;
- Colour with Copic markers a bit;
- Scratch a texture into the gesso paper;
- Colour with more Copic colour.

First & foremost, let me just extend a friendly word of caution about this technique: paint or gesso or the like will clog your Copics, but personally I feel the texture makes it extremely worth working around that issue...
Ways you might like to try to circumvent the Copic clogging problem--
for this or other applications:
for this or other applications:
Use the chisel or broad end of your Copic markers for messy techniques & reserve the brush end for colouring. I don't usually colour with the chisel end, so this works for me.
Alternatively, you could use a brush or a dedicated Copic Colorless Blender to apply either refills or Copic colour that you've scribbled onto an acrylic block or glass plate or whatever. With a dedicated blender (marked well so you know it's your mucky one) you can use all the marker colours you have for anything even if you have no refills & your markers stay pristine.
If you prefer not to use your Copic markers over mediums like these, by all means you can do the scratching effect on regular untreated cardstock. I just happen to be absolutely wild about the way gesso lets you pull up & erase (and the crazy texture it gives) that's all. ;o)

- MFT set Sweet Spring (Jolinne) (available here on Wed. April 7th)
- Heavy weight white Sweet tooth cardstock
- Glue Glider Pro Perma Tac, Tombow Monomulti, & foam tape
- Gesso, Brilliance Black Archival ink, Clear embossing powder, heat gun
- Copic markers, Paper piercer,
- Needle, Embroidery thread (pink & purple), Clear seed beads
- Paper cutter; Scissors & Scoring tools
- Fiskars flower scallop border punch

Step 1) Apply a thin layer of gesso to your cardstock, let it dry. Stamp the MFT images in Black Archival Brilliance ink & emboss in clear. The gesso makes most inks require embossing with clear embossing powder & a heat gun.
You can use any cardstock to make gesso paper. If your cardstock buckles at all, just let it sit under a stack of books for a bit. I like to use a scrap of cardstock to apply my gesso to get a textured look, but you could brayer or brush or sponge it on, or whatever you like.

Step 2) Apply a base coat of rough Copic colour.

Step 3) Scratch lines in the paper with a paper piercer or some other pointy tool. Follow the lines of the stamped image for nice wavy hair.

Step 4) Apply more copic colour... it will build up in the lines.
You'll probably want to keep in mind, if you try this, that gesso changes the way you colour with copics a great deal. The colour pools on the surface & is easily lifted off. This will feel weird to seasoned Copic marker colourers who practice the right way to colour with them. (I don't) LOL.
BUT the resist effect of gesso means you can get neat watercolour effects by pouncing very wet Copics (her dress):

AND the gesso lets you lift colour (like erasing!!!) even the next day or the next week! so cool.
BUT pools of Copic colour will likely be more vibrant in some areas, because of the resist effect that gesso gives.
UH OH? Spots of deeper colour can be a little inconvenient, if it's on a face or it makes a spot you don't like the look of.
NO PROB! Spots of deeper colour are easy enough to fix. Just apply a teeny bit of gesso over your colouring on the spot, using a little brush or something:

I used an old dried up white marker (as a brush) with some gesso on it to cover up a splotch on her hair.
Then, you can re-colour over the touch up spots with more Copic:

(It's a good way to add highlights as well.)
A heavy application of Copics can even build shine (Great for hair, but if you want to reduce the shine for the look of fabric or something, you can simply paint Matte Medium over it.)

Step 5) Cut the images out. I cut Jolinne out entirely (inside areas like her arms & reinforced with wee strips of paper glued on the back) so that she could be popped up on foam tape for dimension....

The background is also on gesso paper as well...

...which makes for quick texture:
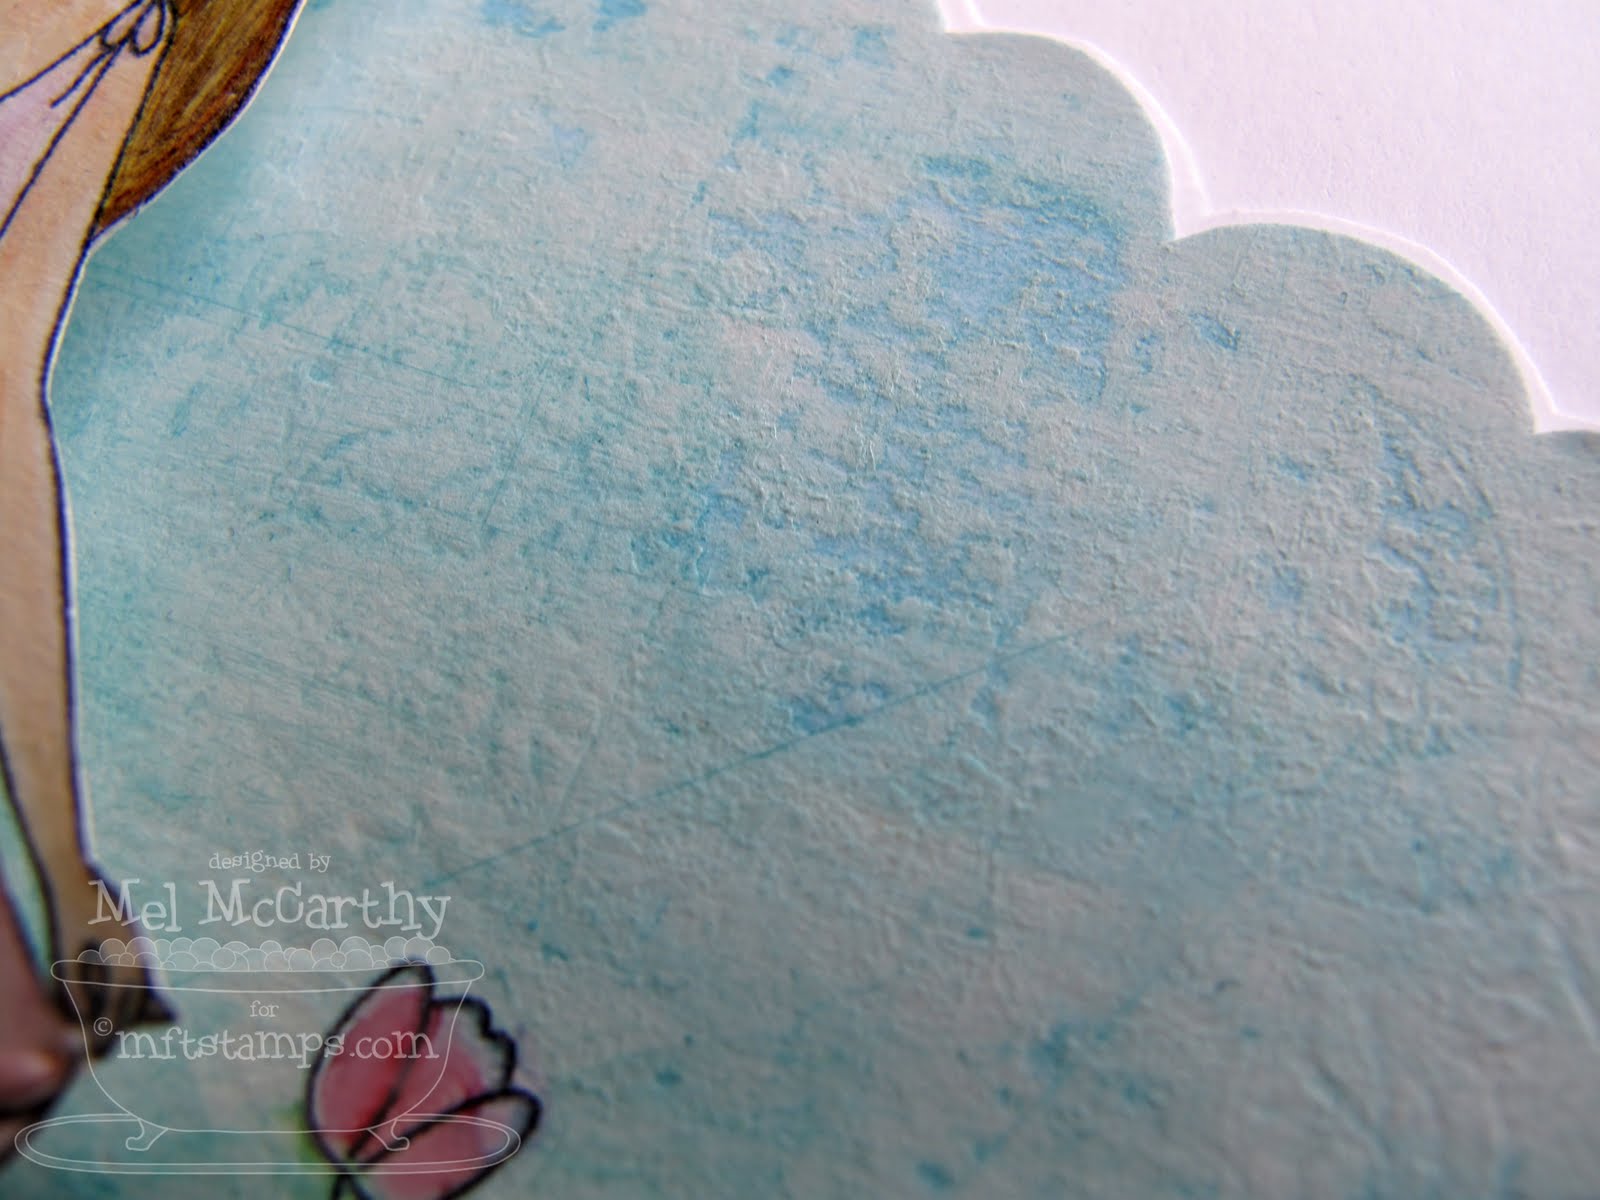
The gesso also makes for easy colouring. (I quickly brushed on light blue Copic refill Frost Blue B00 & then coloured the flowers in.)

CAN I USE OTHER MARKERS? If you don't have Copic markers, this will work with some others. I've tried it with CTMH markers & love that. BUT Stampin' Up! Markers require embossing after or they won't set (cure) properly over the gesso. I'd love to hear about it if you try other marker brands.
DO I REALLY NEED GESSO? You can do this scratching technique with regular cardstock (no gesso). but you might want to be more careful to avoid scratching the paper.
I just enjoy the added texture & the fact that it lets you scratch a lot without tearing the paper as much because of the elasticity of the gesso. Also, Copic markers pool in the grooves and you can get interesting effects. (LOVE that!)
...okay enough of my rambling; that's it...

(clickable blogger photo)
Thanks for taking time out of your busy day!

P.S. Curious about Gesso, you might want to check this collection of posts out
(after you see all the MFteasers, of course!) ;o)
(after you see all the MFteasers, of course!) ;o)


20 comments:
Oh Mel isnt she the prettiest lil thing?! I love the details on her dress and it was pure genius to detach are hands from the dress... i like! :)
so sweet
just darling! love this new one too!! I can see my wish list growing!
lol on C's approval, good man!
xoxo
wow! I can't believe how much detail you add to your cards-a true artist you are!
Oh my goodness, this is GORGeous!!!!!!!! All the detail, all the texture, all the love you put into this card....I am just blown away. WOW!
Hi Mel.. I always follow your blog.. I just want to let you know you are amazing!!! I love your blog.. and I'm your FAN!!! Kudos to you ;)
Love that texture on the hair - and I love that your hubby noticed it too! Very cute card - sweet teeny flowers tucked behind their ears.
Another over the top project, Mel! Great tutorial, too!
awww.... that's awesome! :D
My little girl just started ballet on saturday! :)
Wow! Gorgeous card. Thank you for sharing all the details!
oh Mel this is so fabulous!! thanks for another awesome tutorial too!!
Wow, her hair looks amazing! Love all your details.
You're so creative Mel! Love the idea - but I'll try with some Bic markers first (they aren't NEARLY as expensive!).
:)
I love this!! Her hair is fabulous!! Love all your details Mel!
This is so cute!! Thank you for the wonderful details in how you create :)
OMG! You probably already had scissors in the hands from birth! How accurate cutting!
Details are made fantastic!
Fantastic!!!
Thank you for all the details in making your beautiful card. I have never used gesso. But after reading through your tutorial it is something I am willing to give a try at. Just love the end results you get.
As always - amazing details included!! Thanks for such explicit instructions!!
I love the girls pretty dress with the stitching and beads. The bunnies too and her little heart. Love the ballet slipper ties.. too perfect. Her hair is amazing! You make things so wonderful!
Post a Comment