


It still feels like this needs a sentiment or bow or something,
but I just couldn't seem to add anything more...

It's another card made using one of the
papers from those Ephemera freebies
and
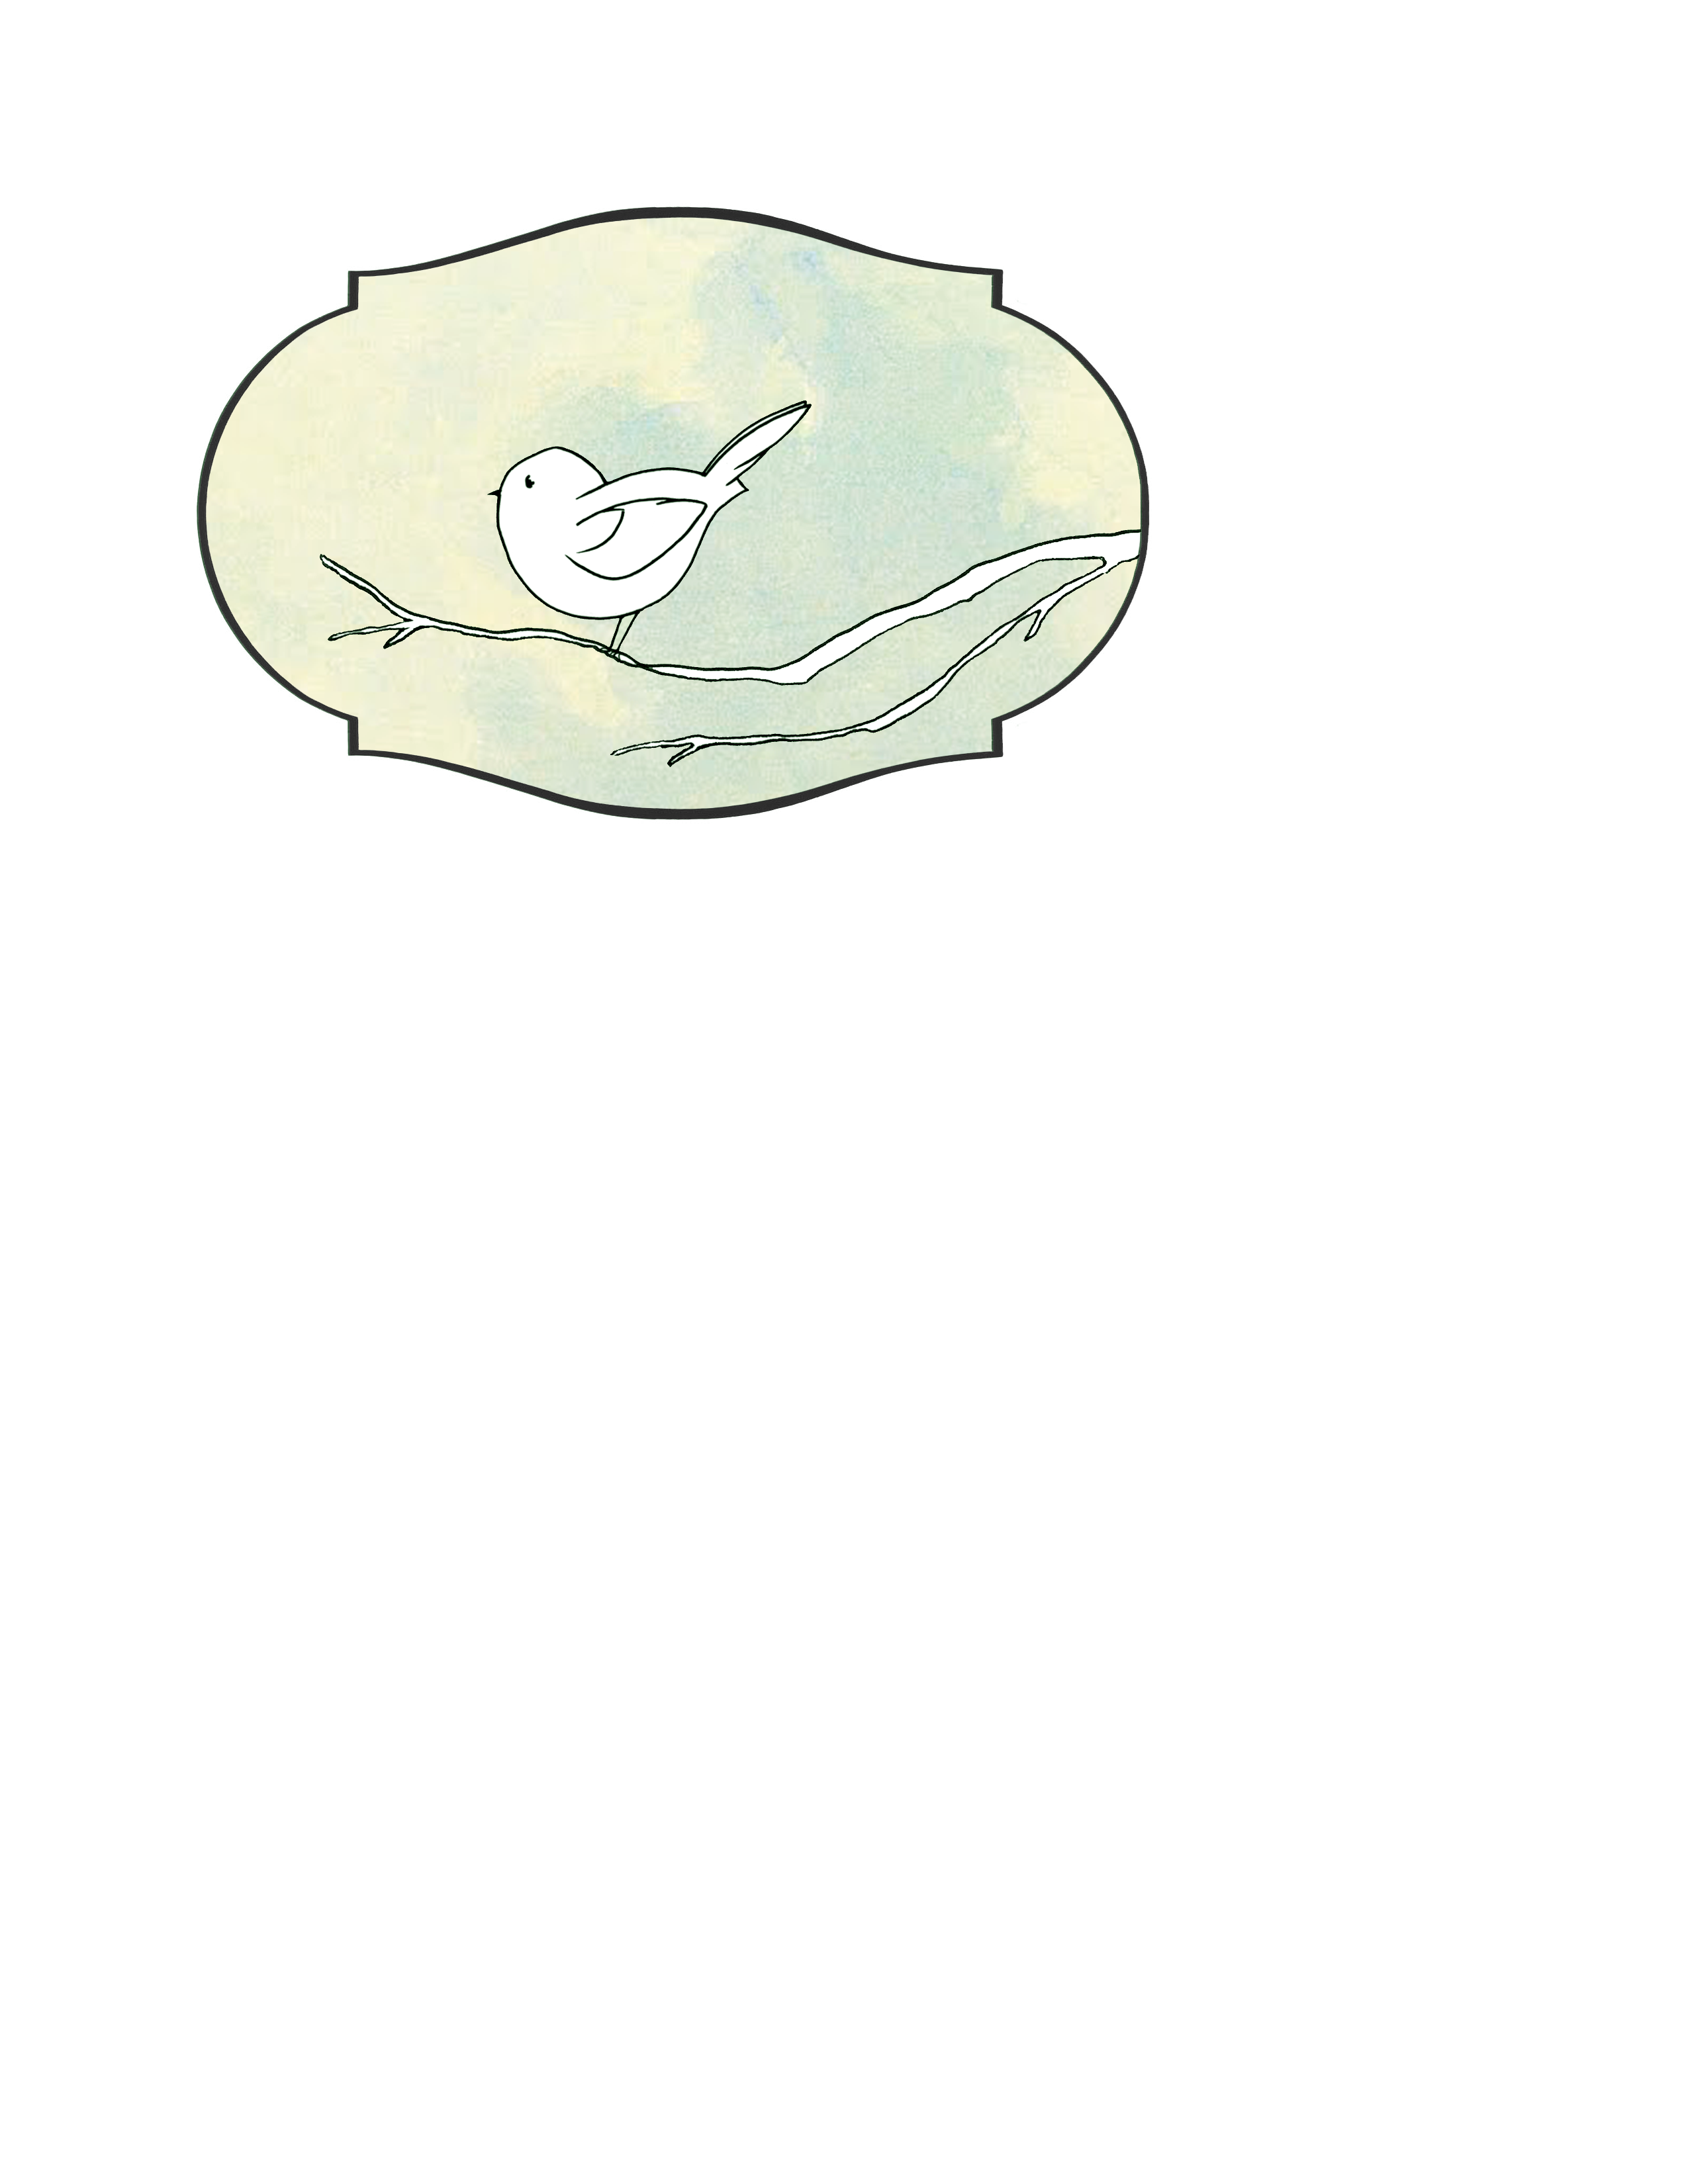
a free bird on a branch digi that I doodled.
(A couple of you said you would
like to use it, back when it was on this card)...

So I thought I'd share the little chubby fellow.
Hope you like it!
but I just couldn't seem to add anything more...
It's another card made using one of the
papers from those Ephemera freebies
and
a free bird on a branch digi that I doodled.
(A couple of you said you would
like to use it, back when it was on this card)...
So I thought I'd share the little chubby fellow.
Hope you like it!

(ephemera paper patterns)
There was a very weird process I used to make this
pattern that I thought might give you a chuckle
ledger pomegranate
& flower paper
(is available here, if you like it)

Patterns in Photoshop are so fun to play with.
You can make one element like this one & then
use it as a pattern to fill a whole sheet:
use it as a pattern to fill a whole sheet:

There are much smarter ways to make this kind of shape.
That's-a-for-sure! But I don't know them. :-)
That's-a-for-sure! But I don't know them. :-)
All the same, I had me some fun making this element out of the curves of fonts (letters like Bb Dd and Oo -- Using the find edges filter and erasing parts of the resulting outline. If you can believe it, I find that easier than drawing curves. Do I need a Photoshop class or what?)
Then, I just kept tweaking the shape and testing it until it made a tile pattern that looked okay... It ended up looking kind of like pomegranates and flowers, and I filled that with ledger patterns (The ledgers I used are available in this post, if you'd like to use them).

(Things I did to make this bird card)

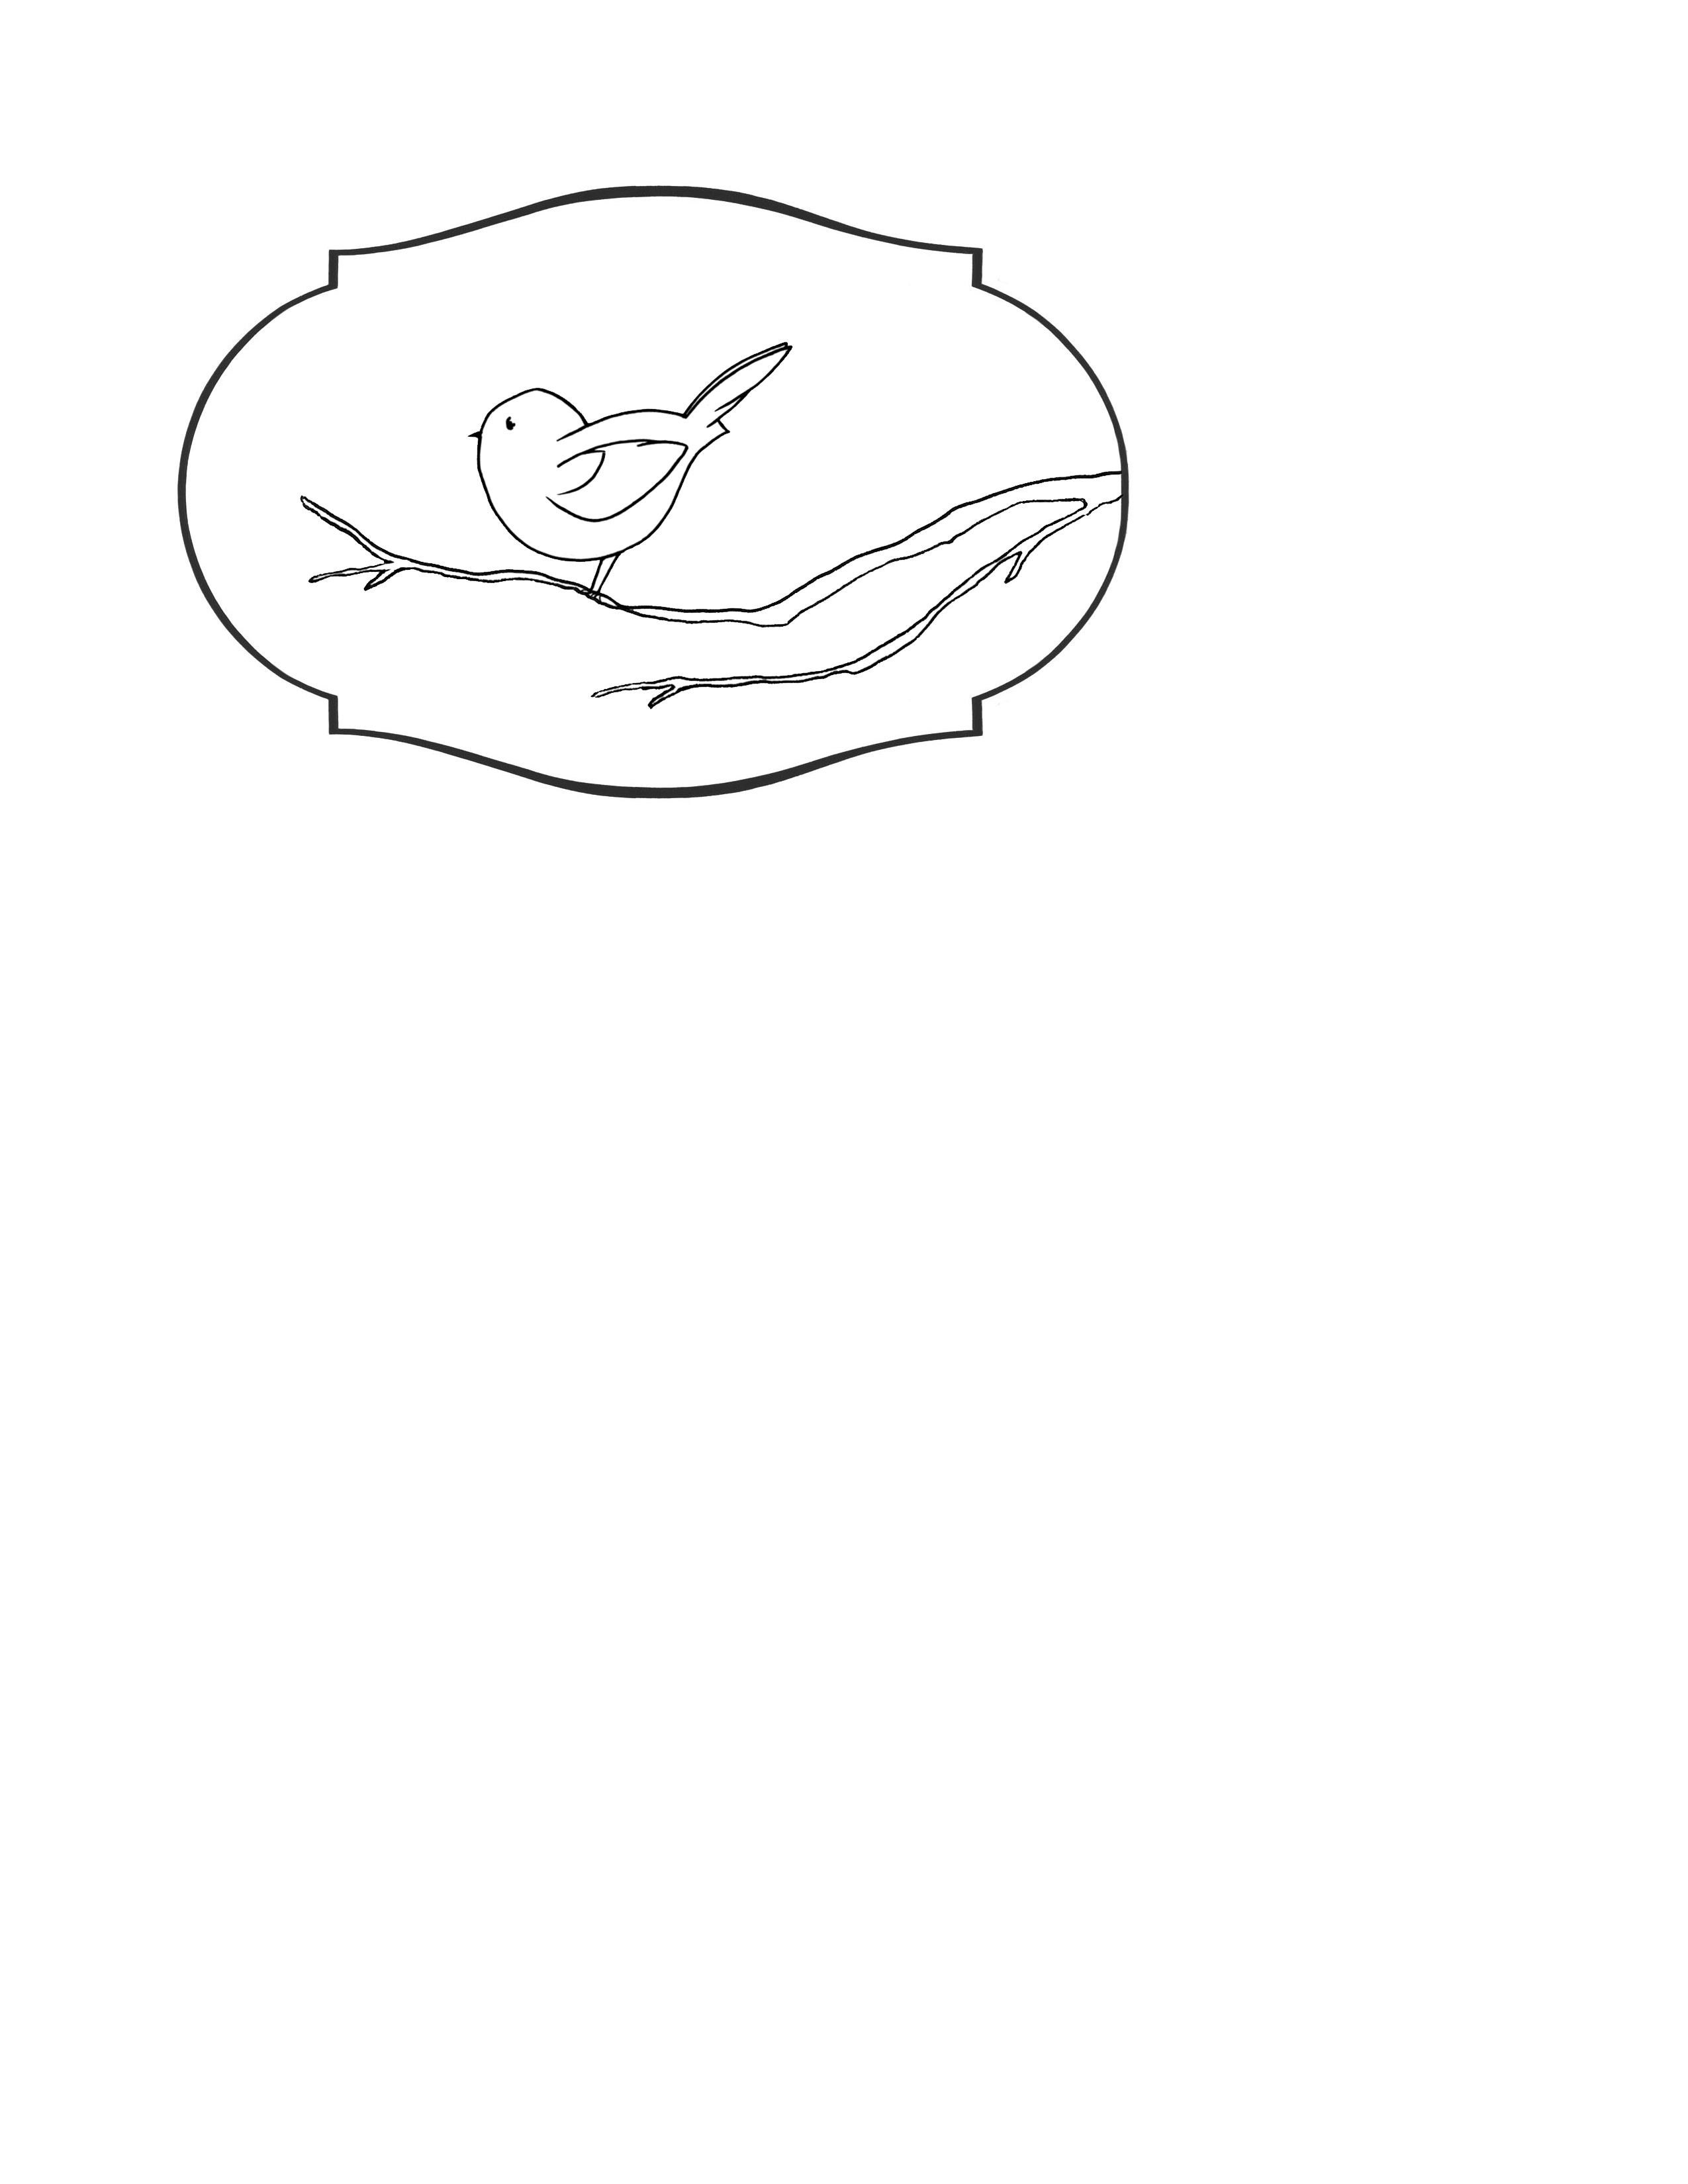
Step 1) Print & emboss the free bird digi (You can download it below, if you like it).
To heat-emboss digital images:
(I love to use a paper that I discovered has magical embossing properties:
Borden & Riley Paris Bleedproof paper for Pens). :-D
a) Cut the paper to fit your printer & get embossing powder ready.
b) Print your image using in an ink jet printer
c) Pull the paper out of the printer as soon as it finishes
d) Quickly hit the wet printer ink with detail or ultra fine clear embossing powder
e) Melt the powder with a heat gun
More details about this paper & digi heat-embossing technique here.

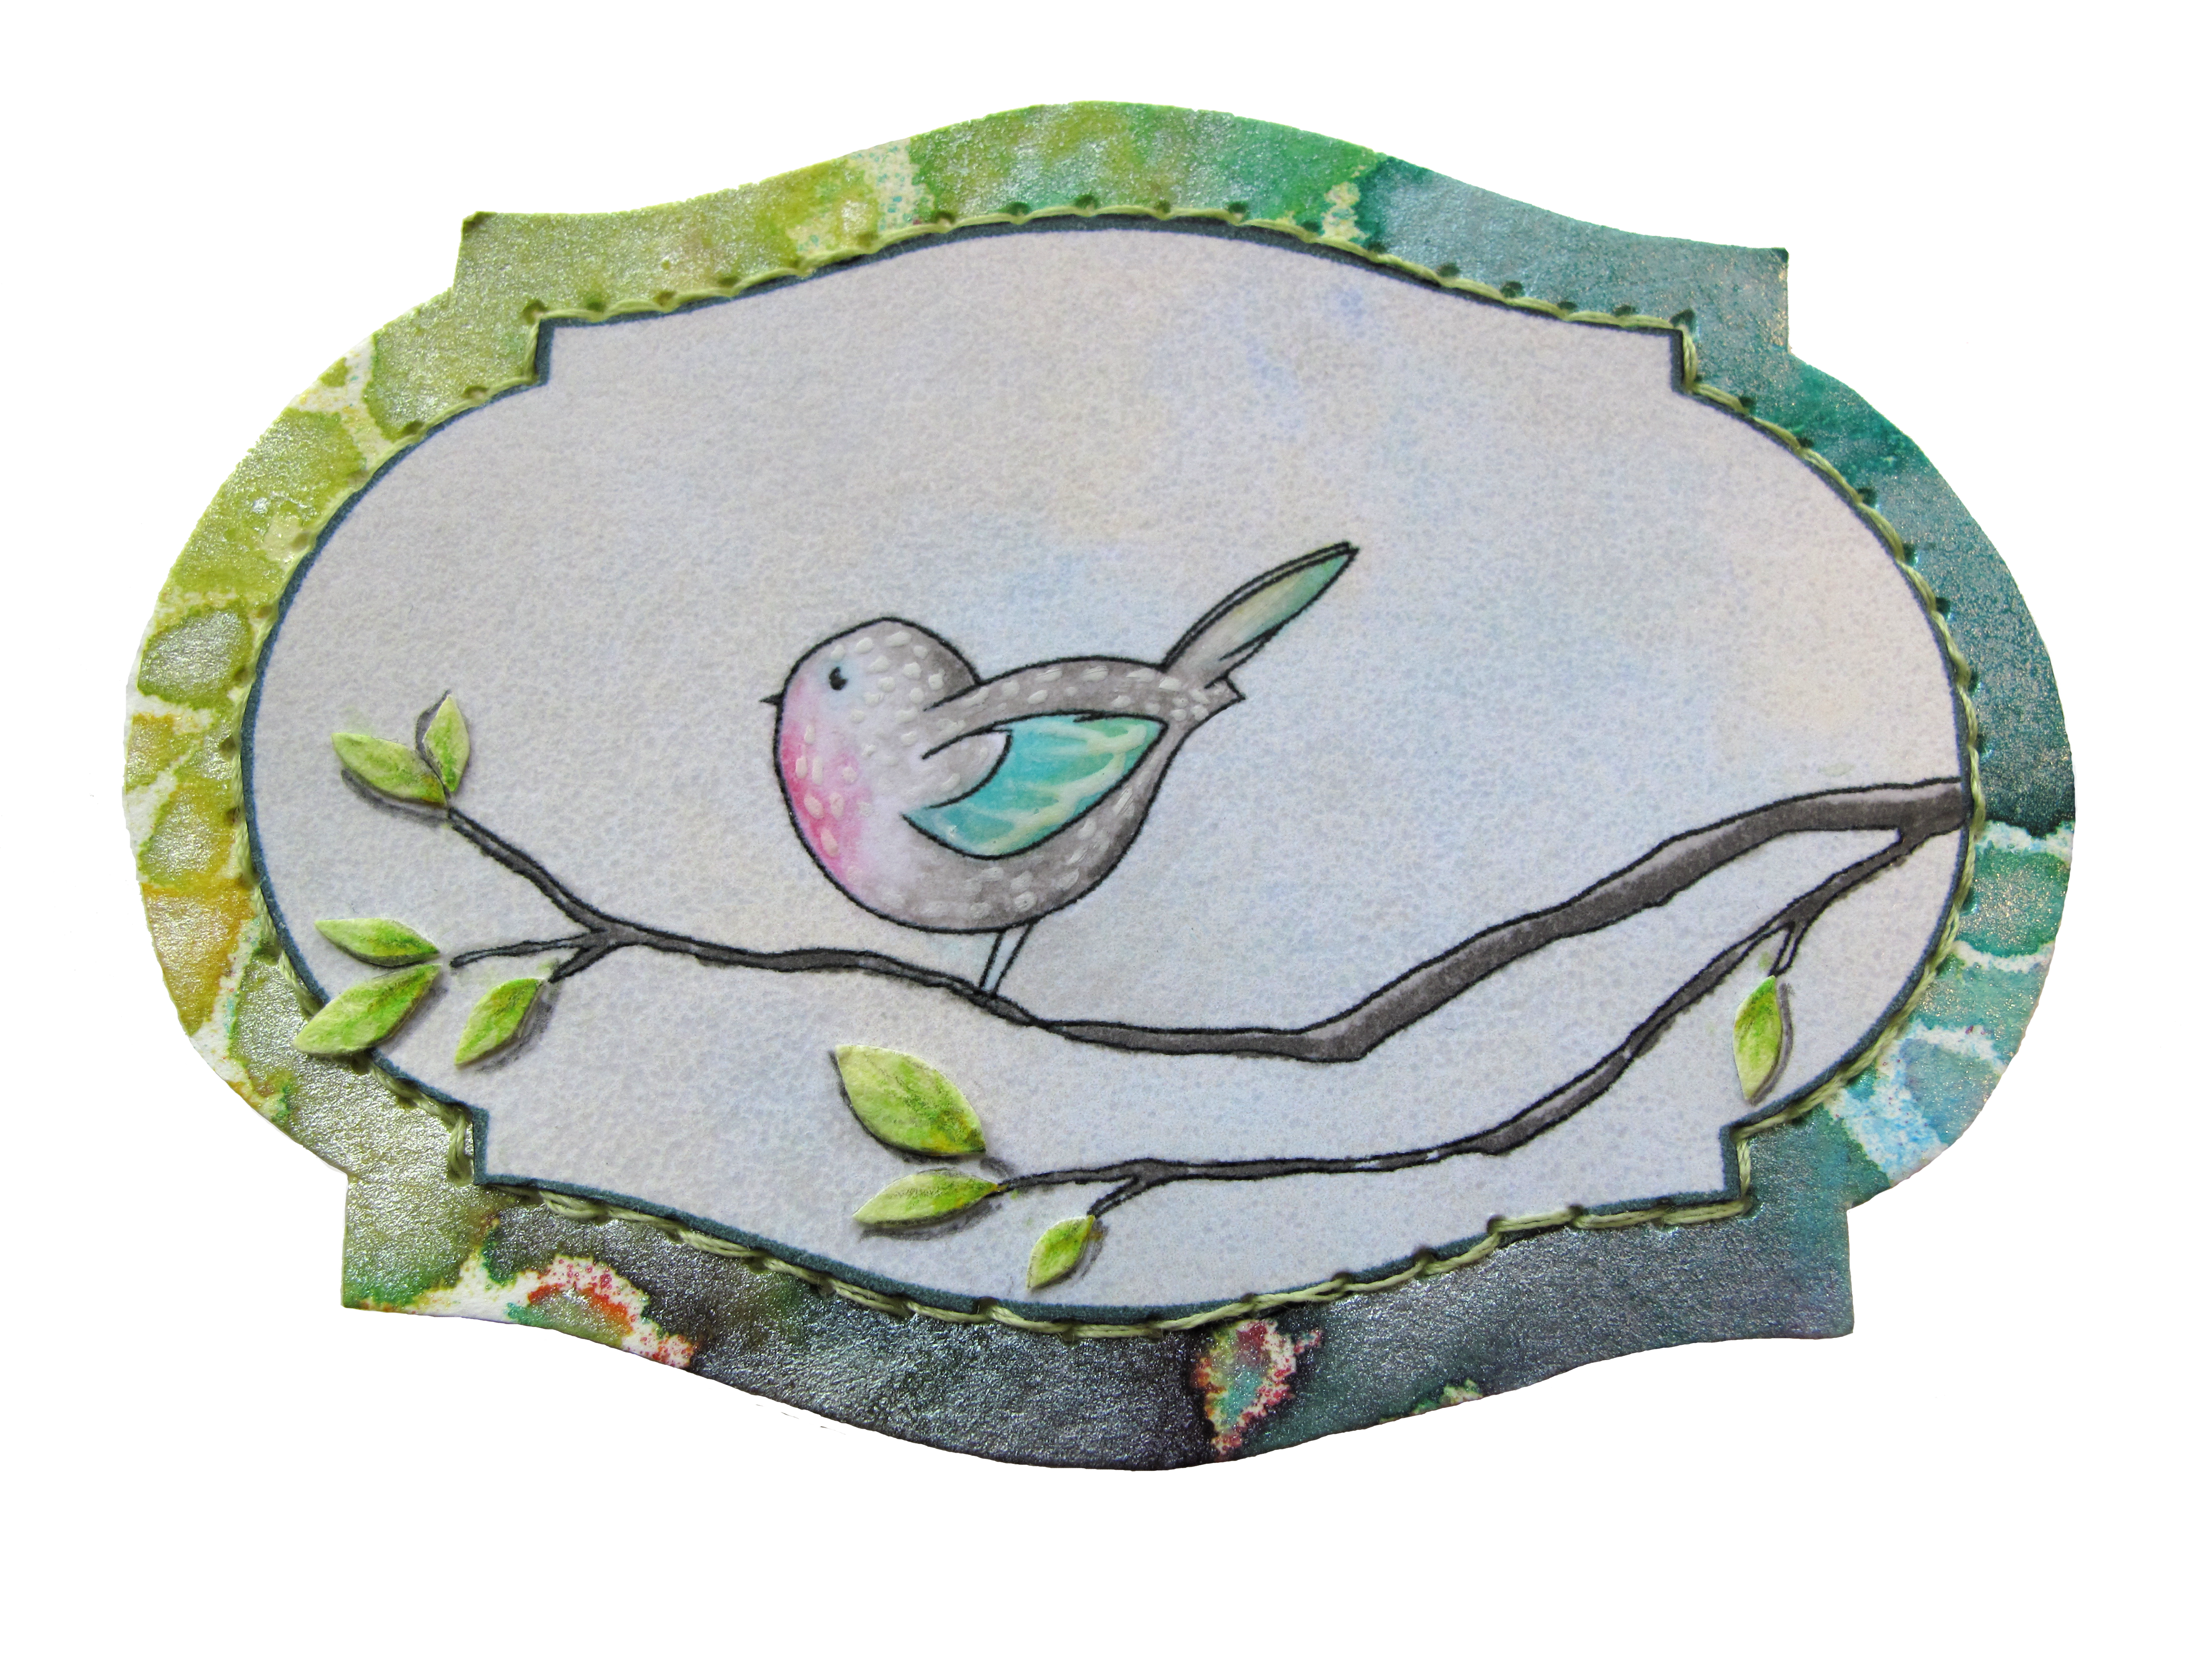
Step 2) Colour & cut the bird out, so she can sit in her nest.
The colouring is inspired by Geninne's Art blog. (I'm in awe of her technique). I added the white lines on the bird's wings & dots on the bird's body with a Sakura souffle white gel pen...

but I have to try white artist's ink on a paint brush one of these days.

Step 3) Colour and cut out the branch from the digi image & texturize it (I cut off some of the branch to make it simpler).
Just "drawing" with a paper piercer on an angle can give you some
lovely bark-like texture lines:

(If the cardstock is slightly damp from markers it takes the texture even more readily).

Step 4) Make a bird's nest from cardstock: Cut a nest shape from white cardstock. Shade it with markers. (I used Copic markers: W-7, E44 and W-3).
And add some nest-y texture:

If you really go crazy scratching up the paper with a paper piercer or a needle tip, you can get some nice fuzzy texture just from regular cardstock.

Step 5) Make some leaves: Colour cardstock with markers, doodle leaf shapes with veins in white gel pen. Then cut them out.

Step 6) Die cut a dictionary page with a Spellbinders Nestabilities Label 5 shape.

Step 7) Cut another nesties Label 5 shape (out of black cardstock for the mat). Trim the sides off of the label to create a whole new shape.

Step 8) Pressure emboss the black cardstock & add details.
This embossing is done with a Provocraft Paisley folder. To make a thin handcut frame adhere the black embossed label shape to a piece of turquoise cardstock & cut it out (I added little scissor snips to make it fringed). Then stitched black thread on the black label shape.
Ever tried Squished embossing? I like to squish the embossing to make it more less pronounced. There's a "squished embossing" tutorial here (it's just something strange I made up, but I like being able to get a variety of embossed textures not just the deep embossing you get with a Cuttlebug folder or other folders).

Step 9) Assemble everything and add some leaves and mini flowers. (The flowers are left overs from an edge punch).

Step 10) Finally, put it all together on a card (this card is 5 and a half inch square)

(free doodled bird image)
These are PNG files.
If you need JPEGs or other file formats,
please just let me know.
You can see the entire set of

bird digi images on flickr here


Bird digi (in a label):
To save these files:
Firefox/Chrome: right click on the image & choose "save link as"
Explorer: right click on the image & choose "save target as"


Bird with a baby blue sky (in a label):
To save these files:
Firefox/Chrome: right click on the image & choose "save link as"
Explorer: right click on the image & choose "save target as"


Bird with vintage coloured sky (in a label):
To save these files:
Firefox/Chrome: right click on the image & choose "save link as"
Explorer: right click on the image & choose "save target as"

Bird on a branch (with no label):
To save these files:
Firefox/Chrome: right click on the image & choose "save link as"
Explorer: right click on the image & choose "save target as"

And as a digital scrapbooking element:
(with a transparent background)
(I have no idea if this will work adequately for digi scrapbooking or even
been something you might use, but I thought I'd share it for fun. It's 350dpi 14")

The label shape is tweaked from this image
shared by Karen, The Graphics Fairy.

Original size of the empty label here on Flickr,
in case you'd like to use it. (Please link Karen's post, if you do). :o)
Hope you are feeling simply wonderful today,


17 comments:
I love your chubby little bird! Thanks so much for sharing him with us. He looks great on your card with your fab papers.
Ohmagosh, I LOVE this wee birdie!!!! Actually I love birds, period. I can't believe you share all these fantastic goodies and I so appreciate it.
You are over the top, woman! Such a sweet card!
PS: I see what you mean about the card NEEDING something, though it's FINE the way it is. What about 2 or 3 pearls opposite the bird inside the top left corner of the black layer? :)
Love your bird- just adorable. Love how you added so much texture to your images.
Your birdie is just too cute! Love how you added texture to this as well.
You are truly the digi embossing QUEEN!! Love ya!
Wow this post is awesome..you put so much into these and it was well worth it..just gorgeous...These birds are whimsical and devine...birds are one of my favorite inspirations...!
You are FAR TOO CREATIVE for one person!! My Goodness... so cute, pure genius, you are!!
hugs!!
damn girl you are so talented.
This is amazing. You so rock the black background.
this is darn cute and especially for spring which has arrived here early in Ontario.
I think you should add a few little pearl (3) under the bird, would make it look like she is sitting on the eggs or as someone else suggested 3 pearls one underneath the other on the LHS of the card. Just the same it is quite lovely and TFS with all of us.
Lesley
Oh thank you I loved this bird on your other card and am so happy to have him now! I also think your texturizing of the wood is amazing, I've used a stylus before to add texture but never thought to drag a point across, that looks fantastic! Lastly, I love Geninne's blog & artwork too, I have a ton of her images saved for inspiration!
Beautiful Card!
I love Your New Paper, Do whatever works for You till You learn a better way.
Thank You for the Great Inspiration!
Mel, I love, love, love your blog! I have been signed up for at least a couple of years for e-mails when you post and i haven't gotten one in a long time. I tried to resign up again and it told me I was already signed up. Wondering if there is a glitch? Anyone else having issues?
Love your blog and all the lovely designs! Just found you via pintrest today, and have downloaded some designs that I hope to be able to use someday soon... :)
Thanks!!
Ps - love your cards!!
Wow Mel. There is so much detail in this card. Its gorgeous! Thanks for your mention on my blog. That was sweet of you. Love your work. Thanks for sharing.
Your birdie and branch are charming! I was wondering about your terms of use, are the freebies for personal use only or is commercial use acceptable?
Post a Comment